The Greater Cleveland Aquarium
I finally made a trip down to the old Powerhouse building to view the new Cleveland Aquarium. I knew that going on a weekend (Saturday in my case) would most likely mean a larger crowd and that was definitely the case. I brought my mother along so she could see the Aquarium for the first time as well. At $21.95 for adults and $15.95 for children (ages 2-12), the entry fee for a family of four can cost you a decent investment. The Admission fee may scare a few people away but the rates are on par with Aquariums in other cities.
Read MoreWeek one, dragons warm up to their new enclosure
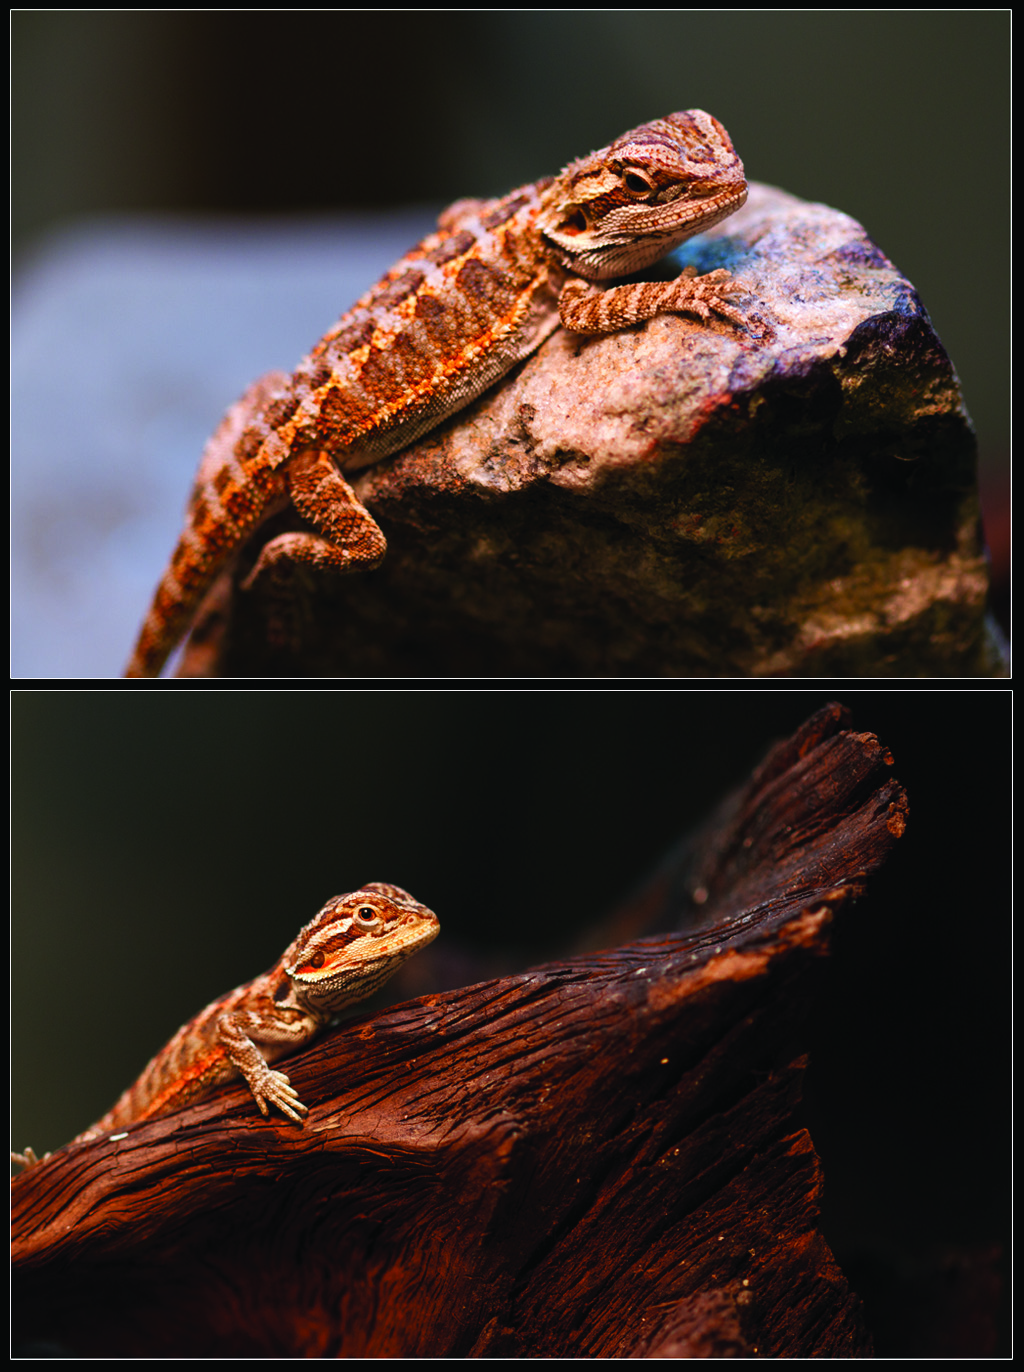
Well, it's been a little over a week, eight days to be exact, that my two little bearded dragons have been living inside their new home. I'm still not sure what sex they are but I have a feeling that the smaller of the two is a female. The male (guessing at this point) took a few days to adjust to the large enclosure (120 gallon 4'x2'x2' aquarium) but the female took to her new home the very first day. The first 5 days I exclusively fed them live crickets with a few wax worms mixed in but have just recently added fruits and vegetables to their diet. It figures that the female hates her greens (at this point) and the male eats veggies right from my hand.
I picked up these little guys right before I had a few days off of work so I started out feeding them 3 times a day. Once I get back to work, they'll have to make do with feeding twice a day (morning and evening). Crickets make up most of their diet and I expect it to stay this way until they're about a year old. Once they're fully mature their diet will consist of an even split between live food (crickets, wax worms, meal worms, etc...) and fruits and vegetables. I have read that baby dragons grow a half inch every week and I can tell that my little dragons have grown at least that over the 8 days.
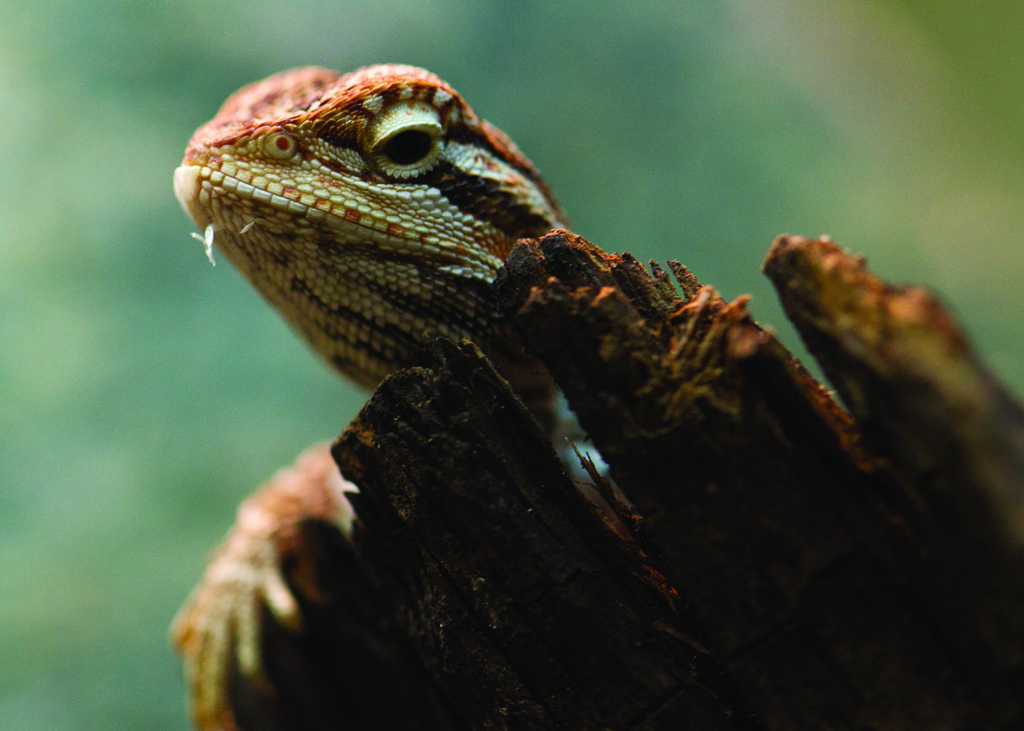
As you have seen with my first post, I added a few photos of their first day as new pets. About two days ago, I set up a little dragon studio with a light tent box that I use for product photography. Bearded Dragons are extremely easy to photograph because as long as they don't see a cricket, they don't move all that much. The photos listed in this blog were taken with a Canon 100mm F2.8 Macro lens mounted on a Canon 5D Mark II.
Macro photography offers viewers the ability to really see the beauty of things up close. When viewed at 100% (on the High Resolution Gallery), you can see every scale in detail and also the bearded dragons sharp claws that are used for climbing. Look closer and you can see little spikes running along each toe of the dragon. No wonder why these guys can climb structures with ease.
[smugmug url="http://digitalphotosbydale.smugmug.com/hack/feed.mg?Type=gallery&Data=20785577_PfgLhH&format=rss200" title="Bearded%20Dragons" description="Day 8" imagecount="100" start="1" num="100" thumbsize="Th" link="lightbox" captions="true" sort="true" window="false" smugmug="false" size="X2"]
Day One, Invasion of the Bearded Dragons
Anybody that knows me, or has visited my website, can see that I spend a lot of my time experimenting and learning new techniques in the realm of photography. In addition to lugging my camera around to all ends of the earth, I also enjoy keeping up with a few hobbies. Previous to my purchase of two Bearded Dragons I had a pretty good Cichlid tank setup in my recreation room. All was great up until my 11 year old 120 gallon tank decided to leak. All of my South American Cichlids were moved to a 30 gallon tank that hosted one bad ass African Cichlid (Auratus). Needless to say, I have one fish left in the 30 gallon tank. Those South American Cichlids didn't stand a chance up against the Serial Killer (aka, African Cichlid).
So here I have this large 4 foot long by 2 feet deep by 2 feet tall aquarium that sits in my recreation room like an old WWII battleship docked in harbor collecting cobwebs. After visiting my nephew and seeing his two bearded dragons, which were medium size at the time, I quickly came up with a solution to my empty tank. Even though I made the decision to venture into the herpetology world, it took almost 6 months for me to buy my first pair of dragons.
Before I took any dragons home, I had to build a good enclosure for these little guys. The 120 gallon tank is a little excessive for dragon babies but perfect for full grown dragons. For those that wish to introduce a bearded dragon into your household, you'll need to consider the following items that happy healthy dragons will require.
- An enclosure - of course. You can use an aquarium or buy a reptile terrarium at your local pet store
- Heat lamp (depending on the size of your enclosure, between 75 and 150W - I went with the 150W bulb). This lamp puts out UVA light. Dragons, especially young ones, need areas ranging from 80 to 100 degrees to bask in. Running a heat lamp with a variable climbing structure that the little dragons and pick and choose their climate is optimal.
- Daylight florescent lamp (UVB) - mimics UVB rays that dragons naturally get from the sun - helps with digestion and overall health
- Under-the-tank heat pad (not a requirement, but I added one for good measure anyways. Dragons like to get all of their warmth from up above).
- Reptile Liner (looks like carpet/astro turf) for the bottom of the tank (substrate). Do not add sand or pebbles for baby dragons. It's really easy for these small lizards to consume sand or pebbles while eating crickets. Impaction is a real threat when using sand or pebbles as a substrate and this can KILL them.
- Food bowl (for greens and waxworms)
- Calcium and D3 supplement (sprinkled on greens and crickets)
- Gutload for crickets (feed this to your crickets a few hours before you feed them to your dragons)
- Spray bottle (water bottle). Dragons don't drink from a water bowl too well (they're not dogs). In the wild, Dragons get most of their moisture from bugs and plants but also lap up droplets from leafs or off of their head from a morning dew. Sprinkling a few droplets of water on their heads often promotes them to lap the moisture. This is the best way to assure your dragon is hydrated.
- Infrared heat sensor (used to gauge the temperature on the basking areas)
- Drift wood and slate rock (used to create a climbing structure - dragons like to climb. This is also used as a basking area for the dragons to warm up).
- Critter cage to house a few days worth of crickets (saves yourself the daily or bi-daily task of going to the pet shop).
The start-up cost for bearded dragons can vary quite a bit. I already had the enclosure and stand (120 gallon tank) but including the cost of two dragons, I still spent about $300. Baby Dragons will cost anywhere between $40 and $100 each (depending on the supply, size, and time of the year purchased). Your time must also be allocated into the cost of ownership. Dragons love live food and you'll find yourself making a few trips a week (or at least once a week if you buy in bulk) to pick up crickets. Their enclosure should be spot checked and cleaned of any waste on a daily basis. Daily sounds like a daunting task but time to feed and clean can be all completed in 20 to 30 minutes throughout your day (so I have heard - not from personal experience yet). Yes, there's maintenance, but nothing like the maintenance of owning a cat or dog.
On December 22nd 2012, I purchased two Bearded Dragons from Petsmart (Parma Branch). One, which is featured in the photo above (top lizard), I think is a male measuring at 5.5 inches in length. The other, a feisty female (I think), measures in at 5 inches. The first night in their new enclosure went well. The female had no problem warming up to me and she ate three waxworms fed to her via a feeding tong. The male on the other hand needed some more time to adjust to his new settings. He was easy to pick up but had no interest in eating the first night in the Dragon Hotel.
Over the next few months I'll be taking a daily log of these little guys. I won't be posting every day but I'll add updates along with a couple photos a few times a month. If you're into reptiles or if you are thinking about bringing one into your home sometime in the future, check back for my dragon updates. I'll try to supply as much useful information as possible.
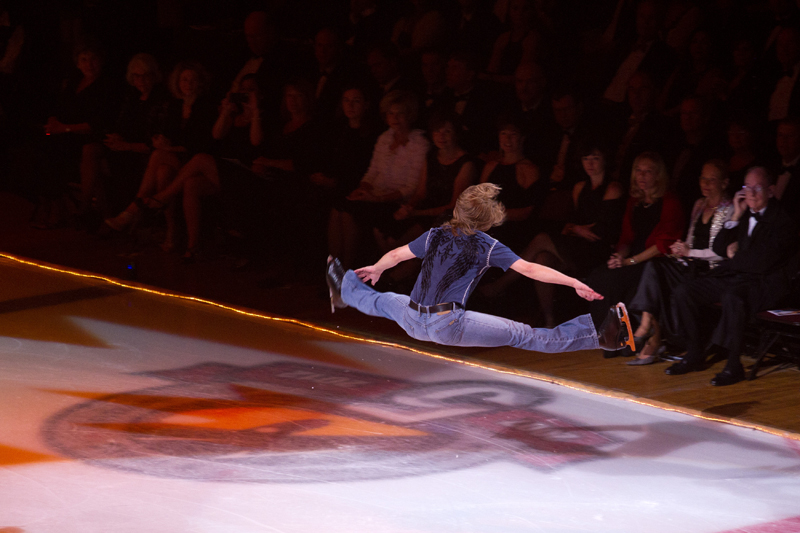
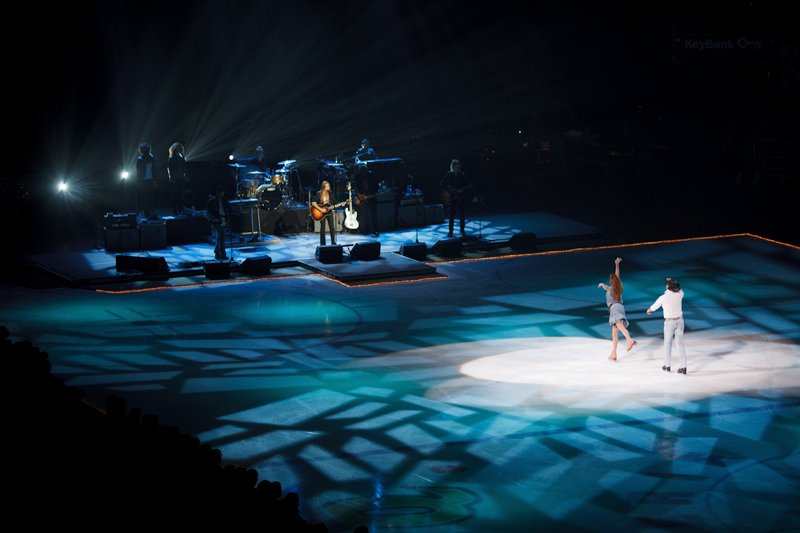
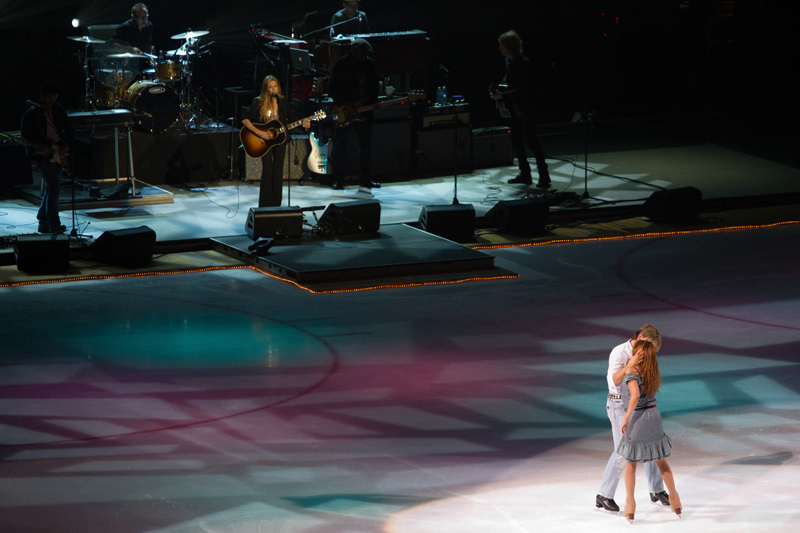
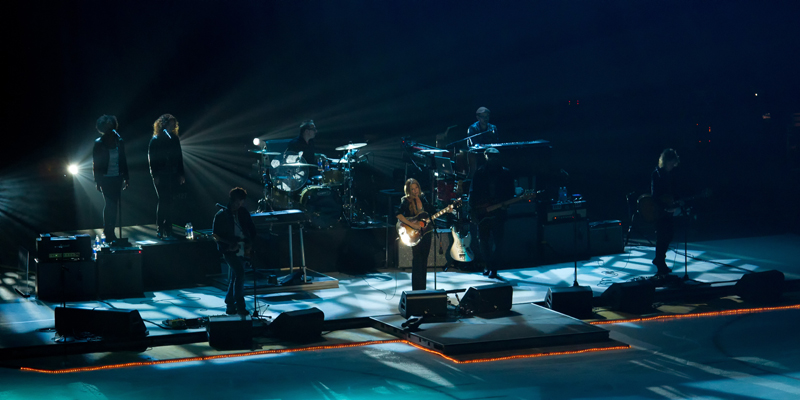
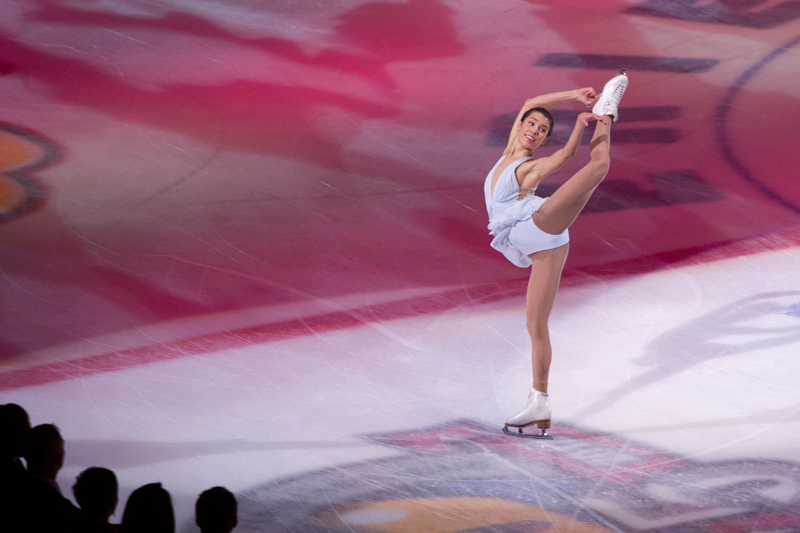
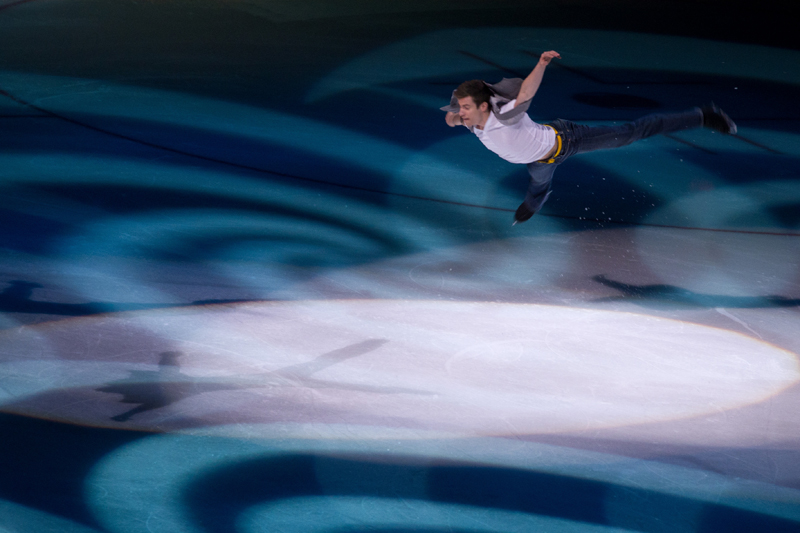
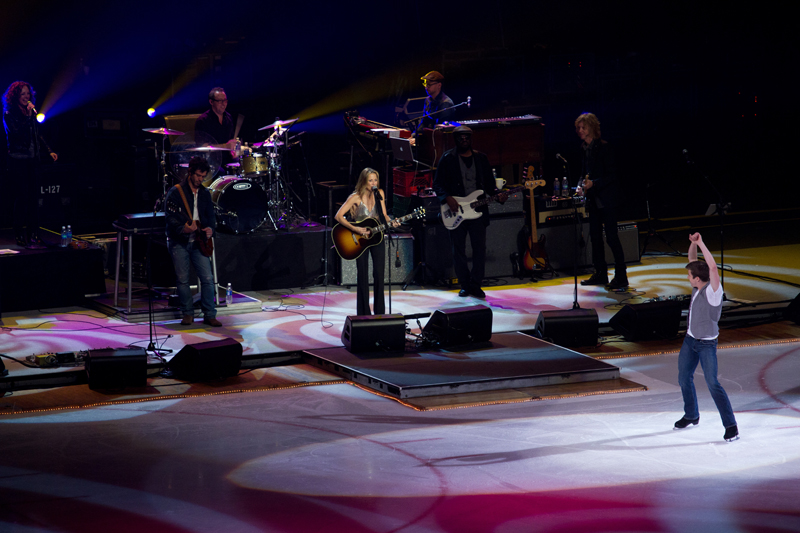
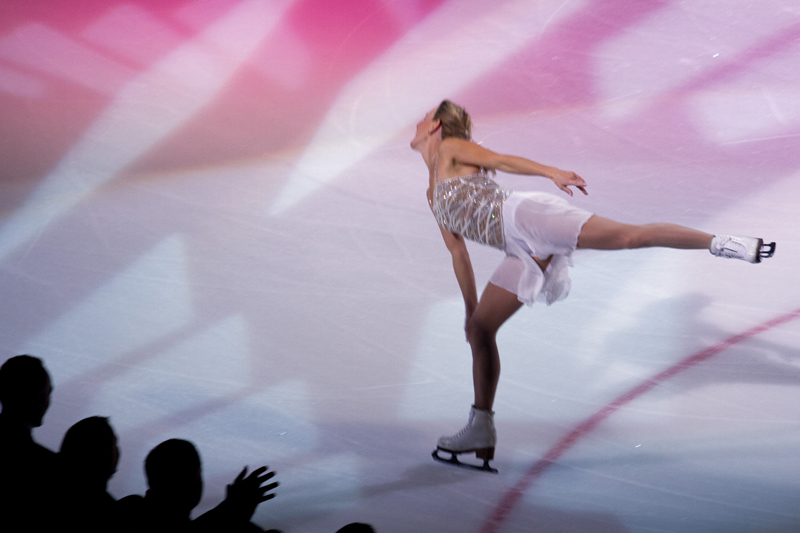
An Evening with Scott Hamilton and Friends, featuring Sheryl Crow
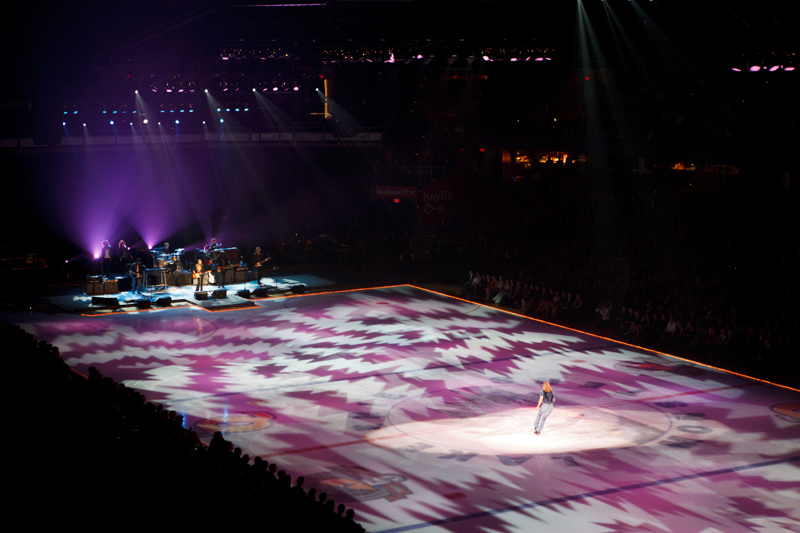
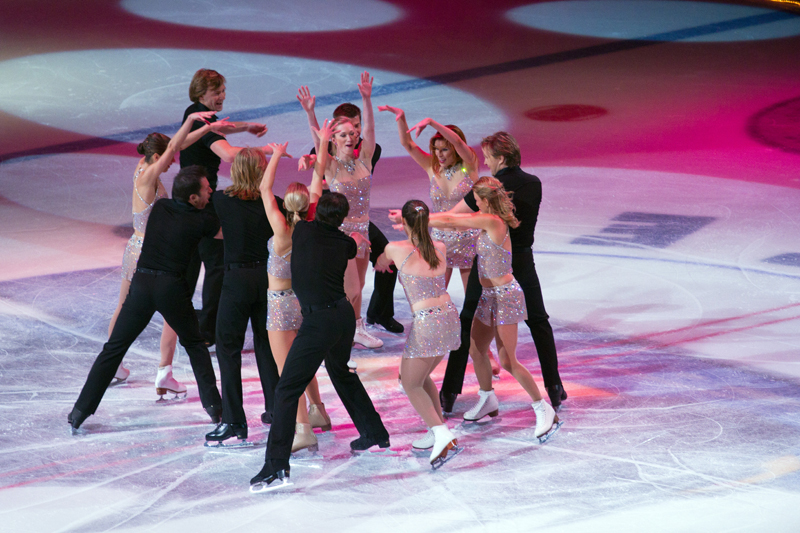
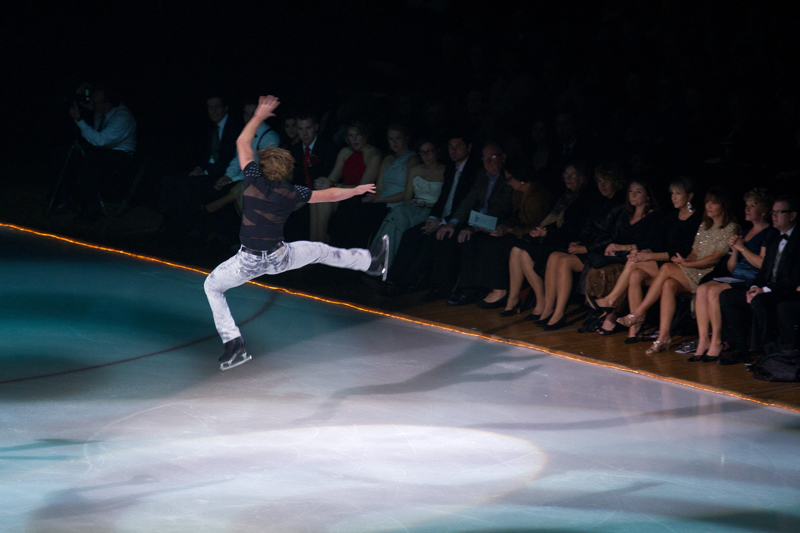
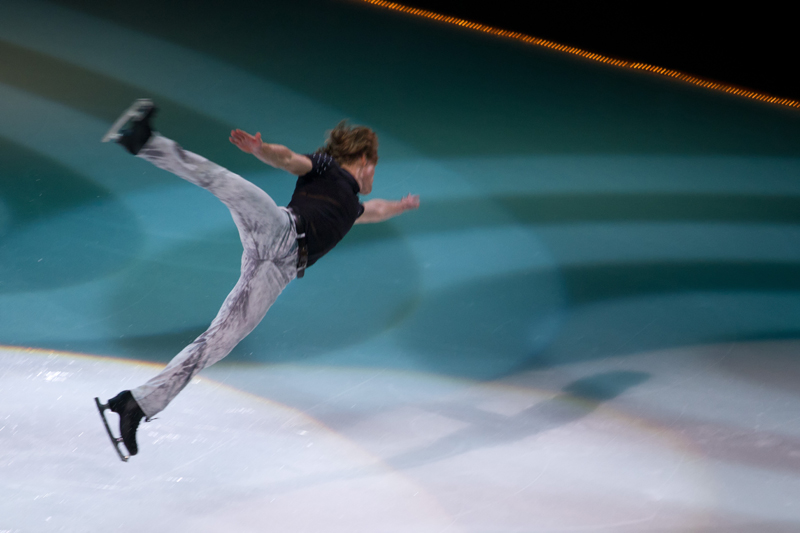
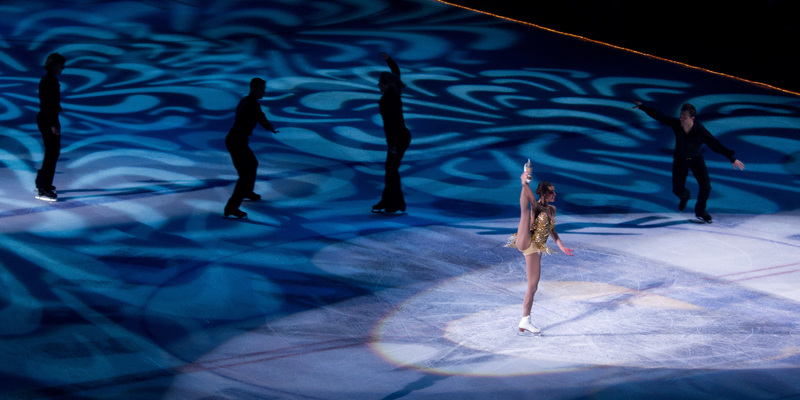
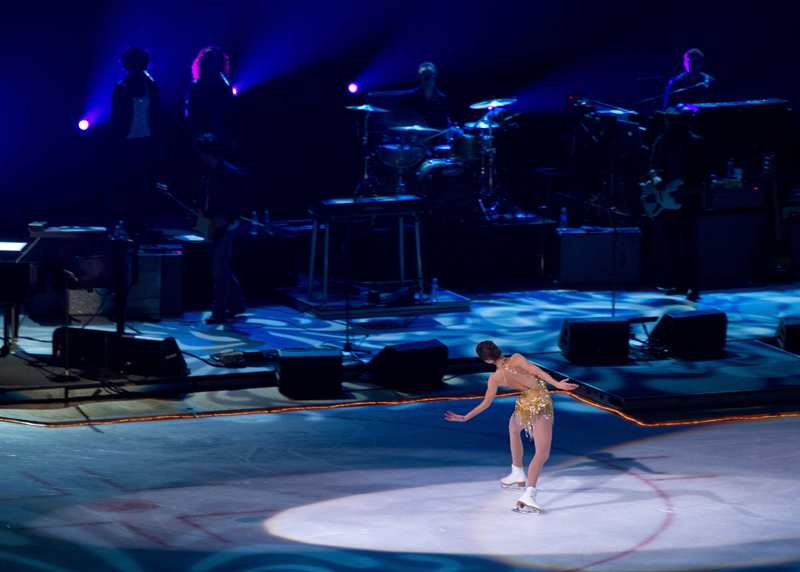
Scott Hamilton CARES Initiative benefit put on a show at the Quicken Loans Arena for it's twelfth annual "An Evening with Scott Hamilton & Friends" on Saturday, November 5th. It's mission is to advance towards the cure of cancer through research and education and to improve the quality of life and support for people affected by cancer. This year's event featured musical artist Sheryl Crow, Olympic Skaters Kristi Yamaguchi, Dorothy Hamill, Ekaterina Gordeeva, Ilia Kulik, Jeffrey Buttle, Jozef Sabovcik, Joannie Rochette, Kimmie Meissner, Caryn Kadavy, Allisa Czisny, Michael Weiss, Ryan Bradley, Steven Cousins, Melissa Gregory and Denis Petukhov. Following are a few photos from the event. If you like what you see, please click on one of the buttons listed at the top of this page to share the experience with others.
To view the entire collection, go to An Evening with Scott Hamilton & Friends
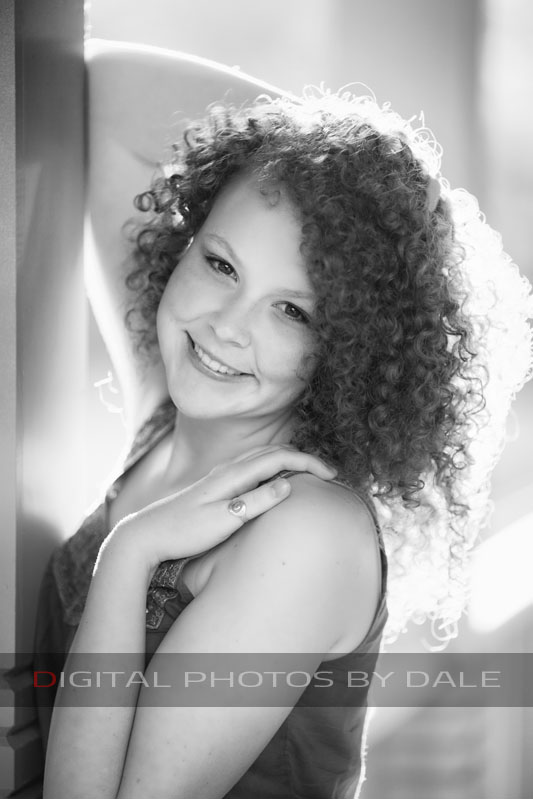
Maddie, 2012
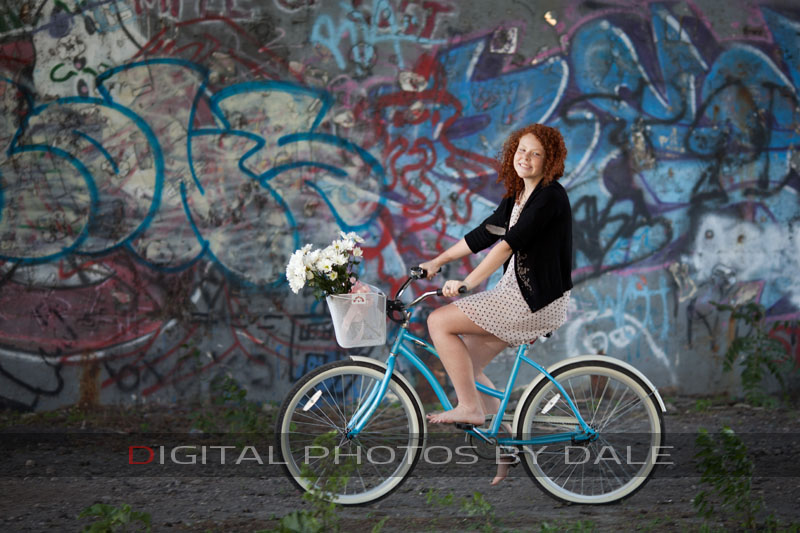
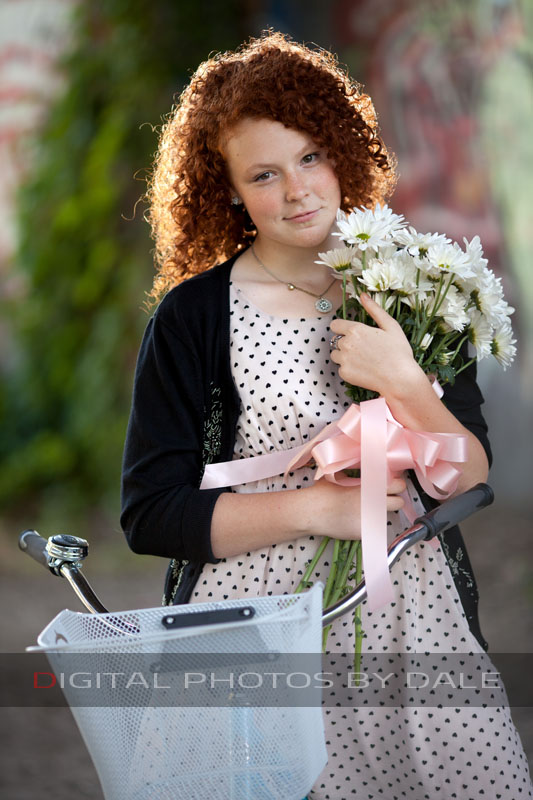
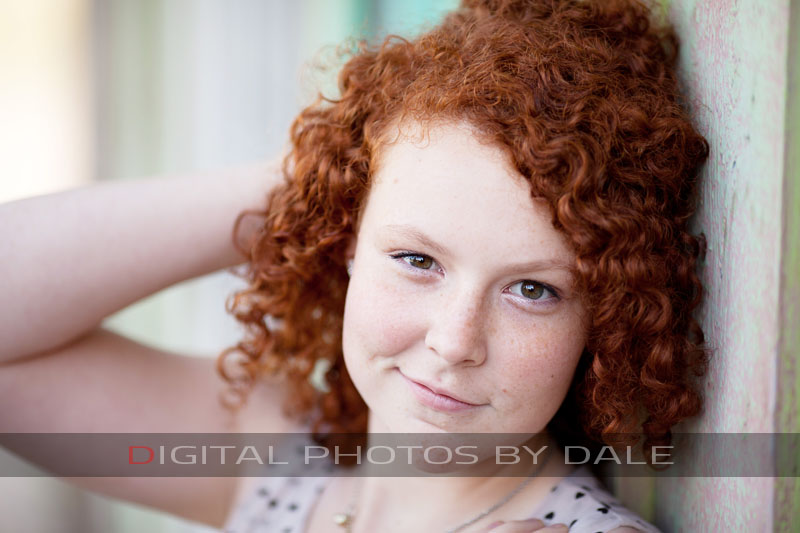
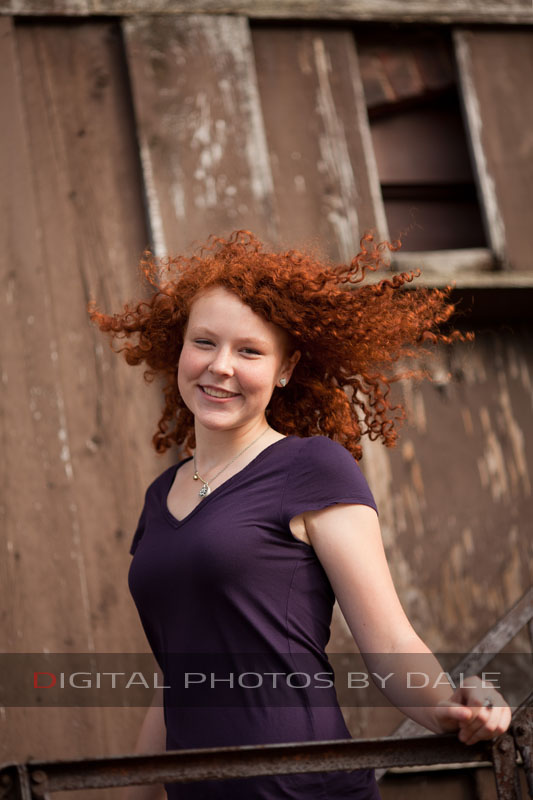
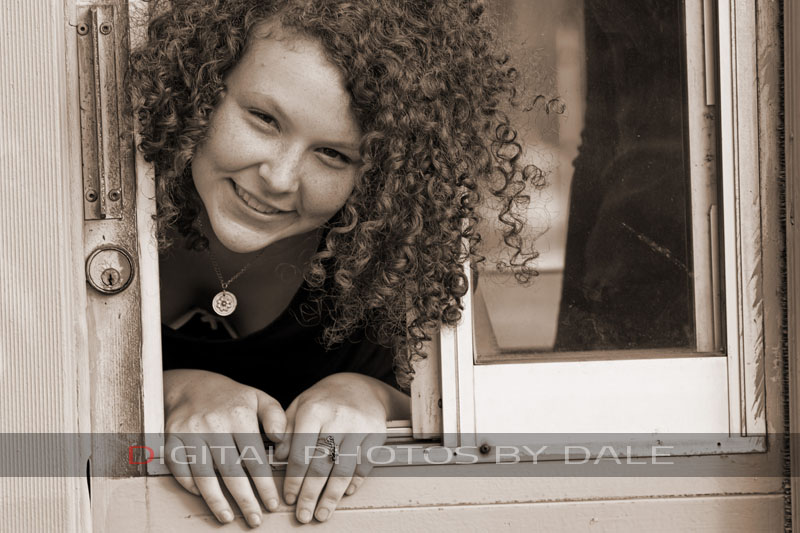
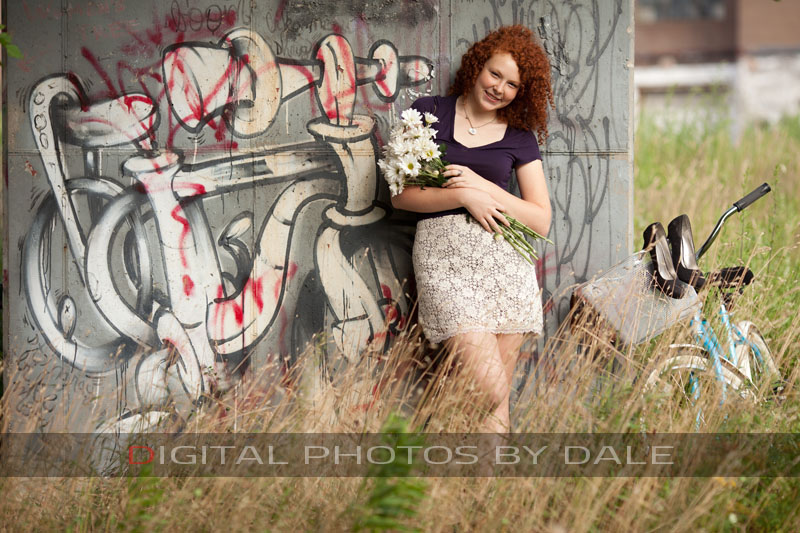
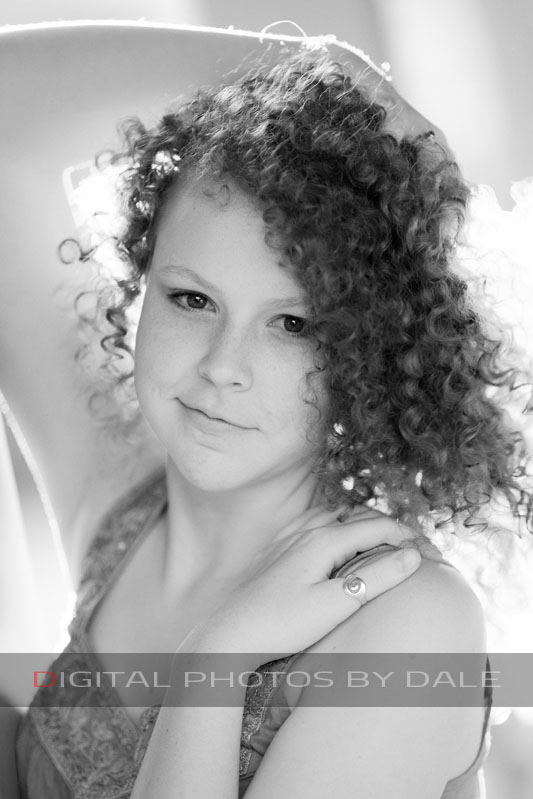
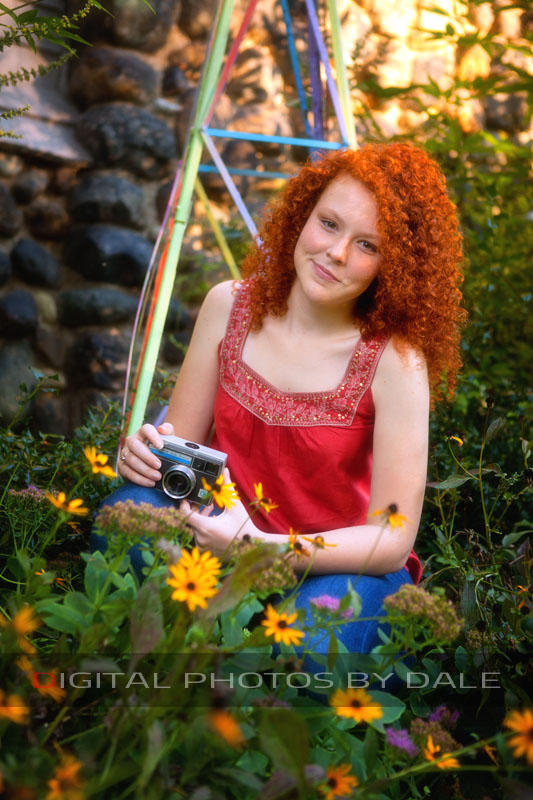
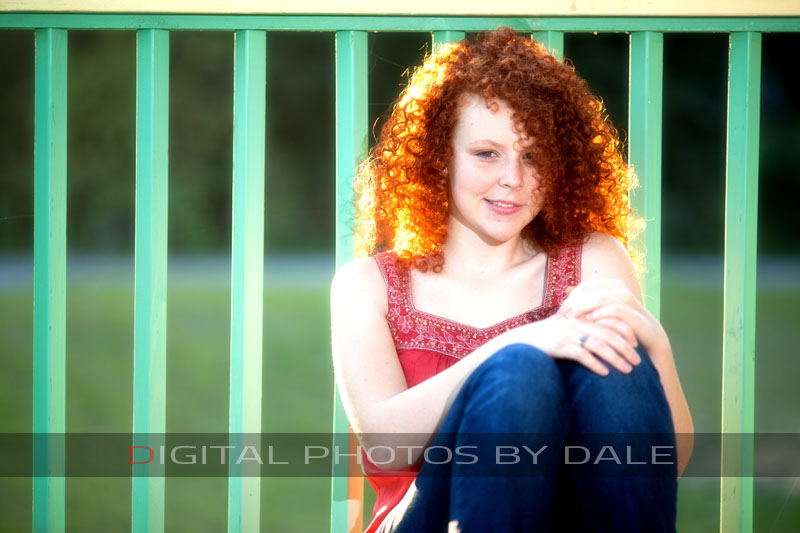
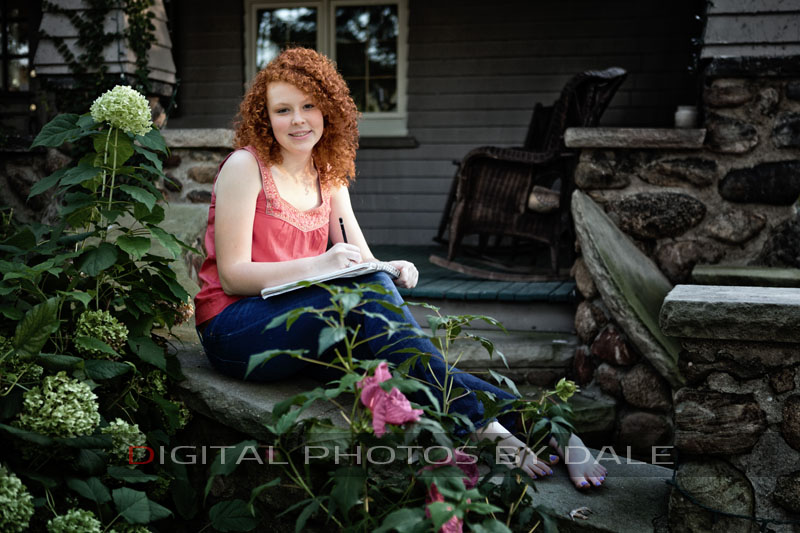
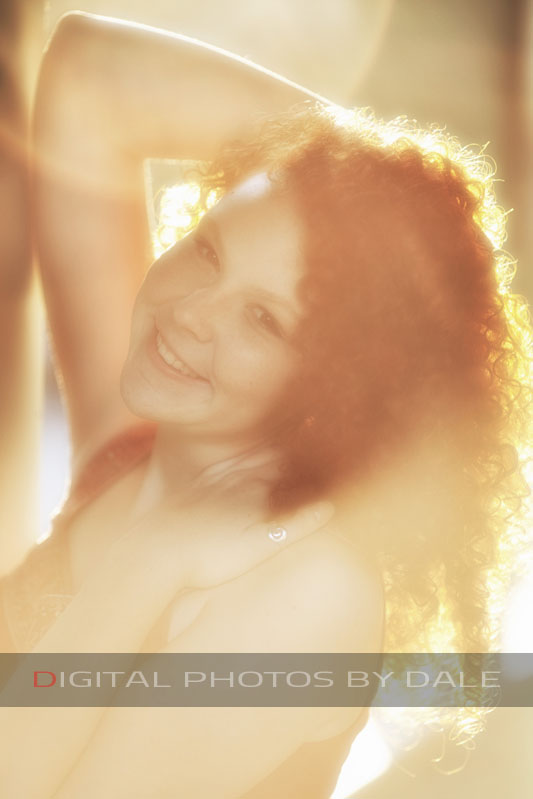
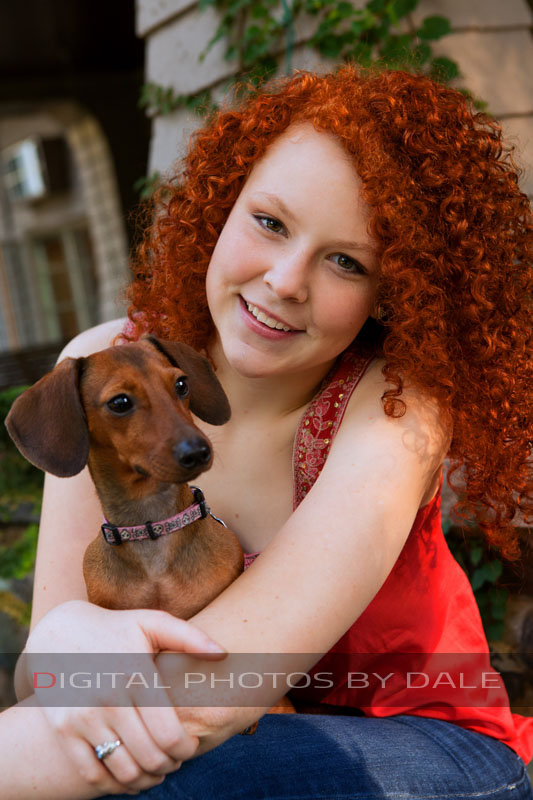
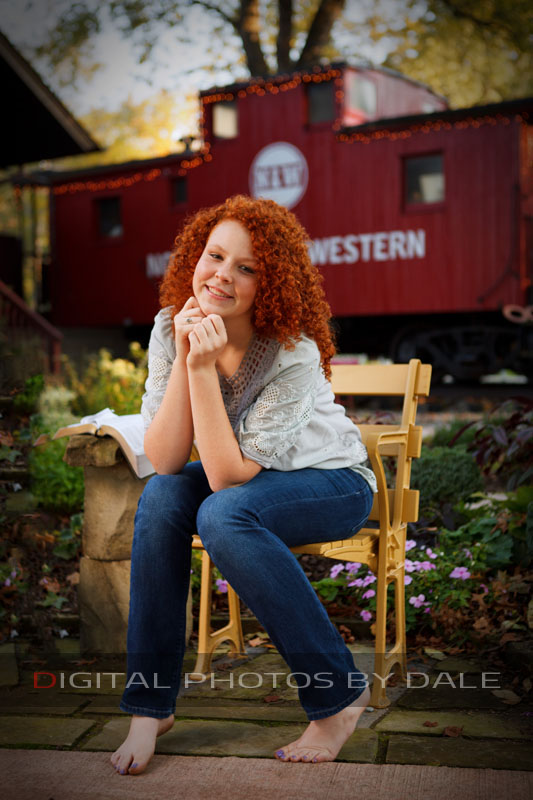
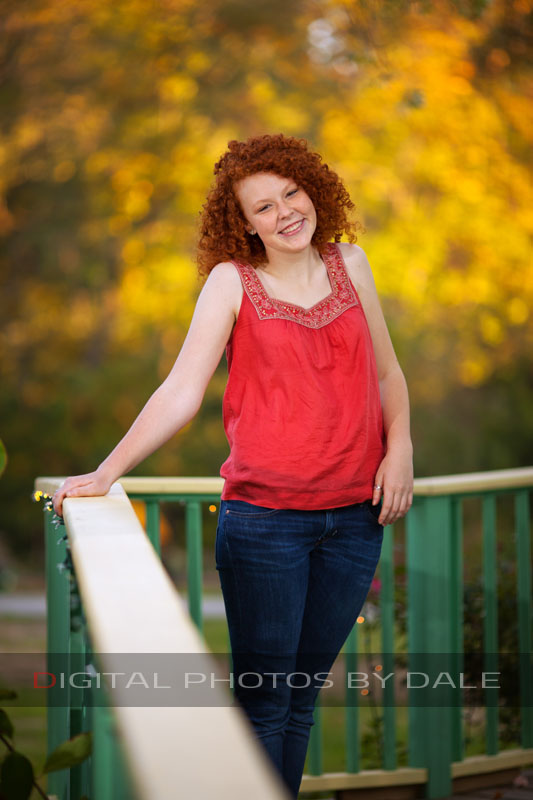
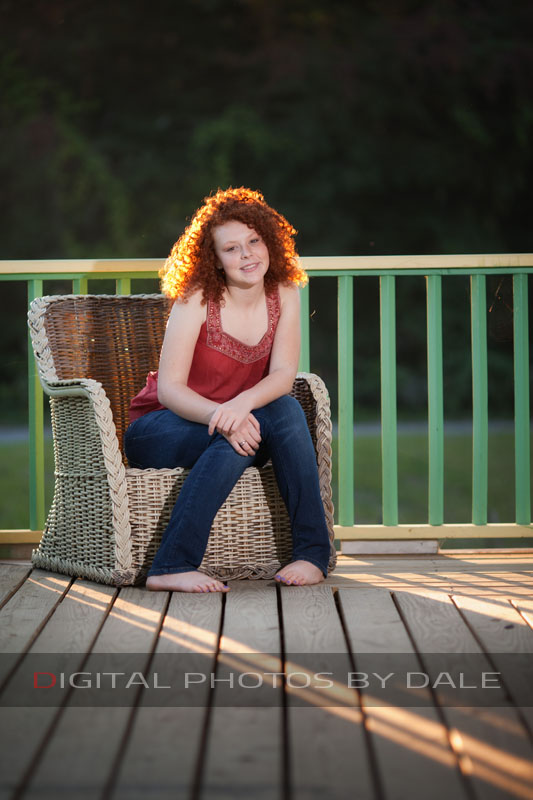
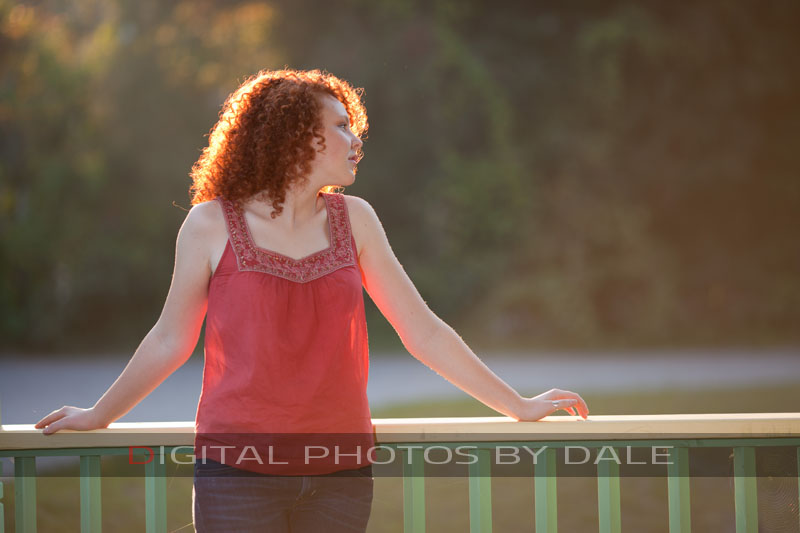
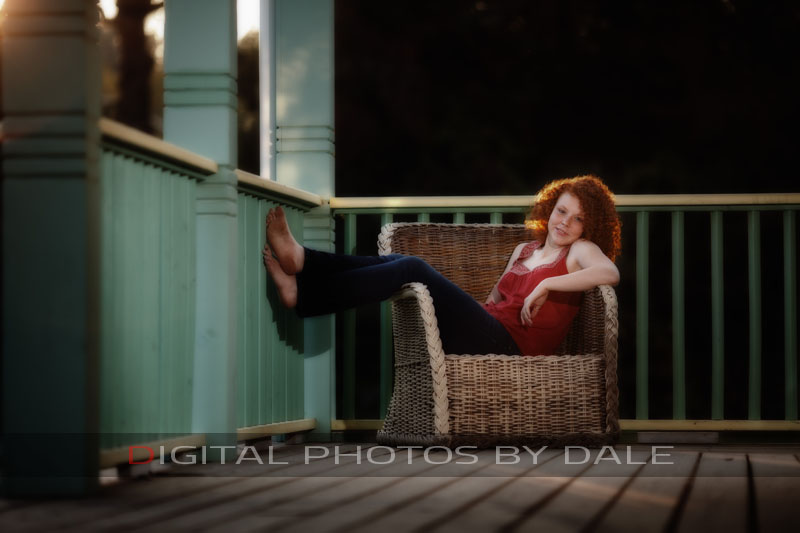
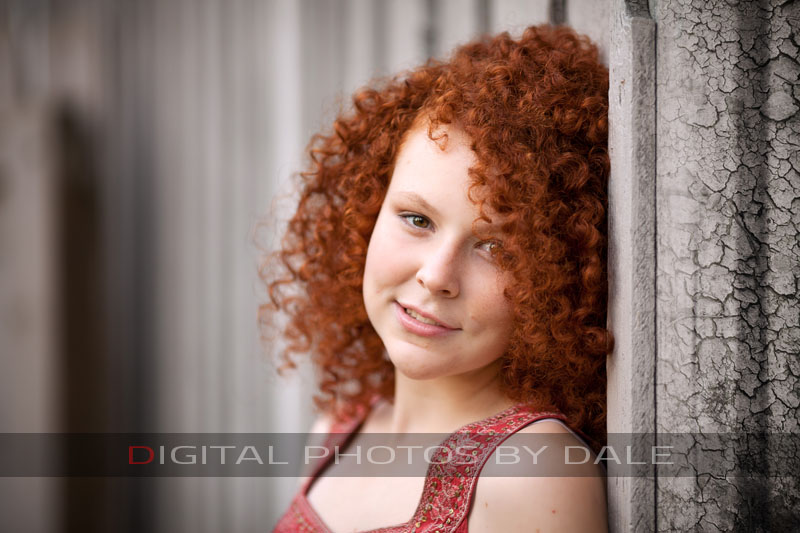
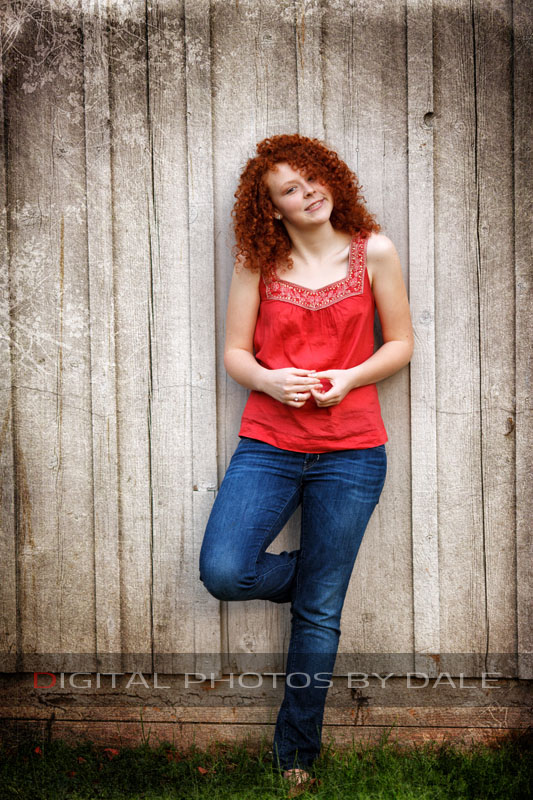
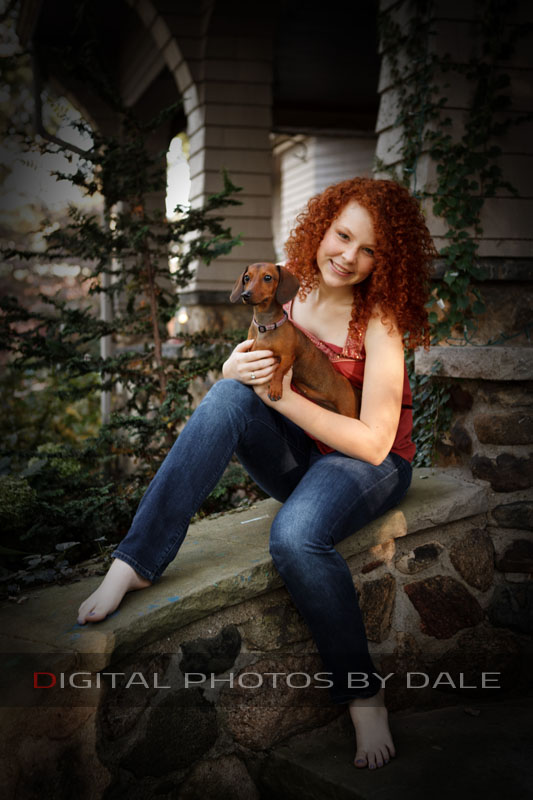
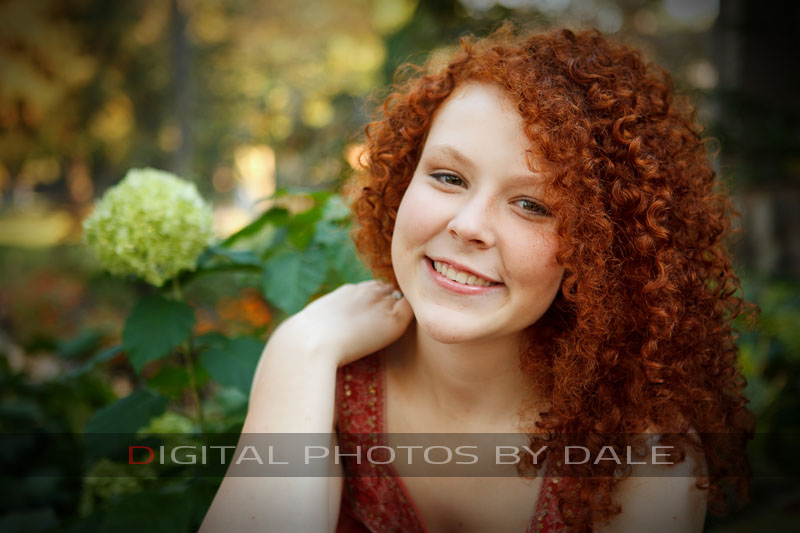
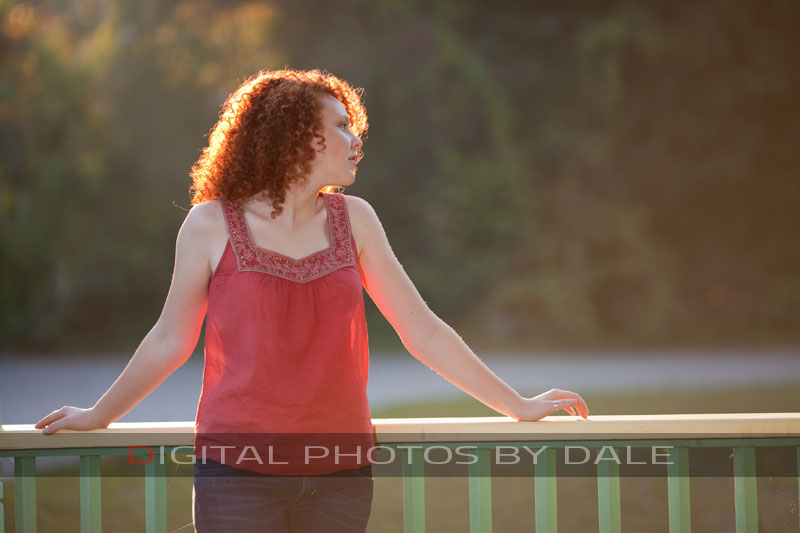
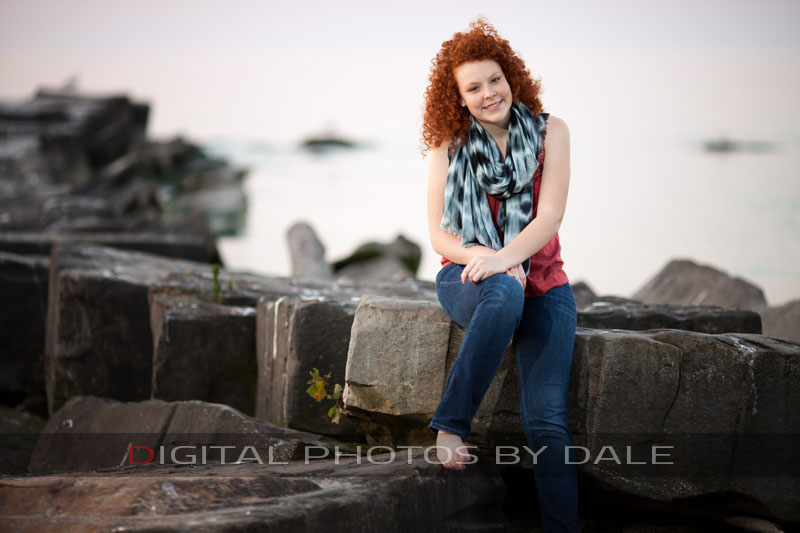
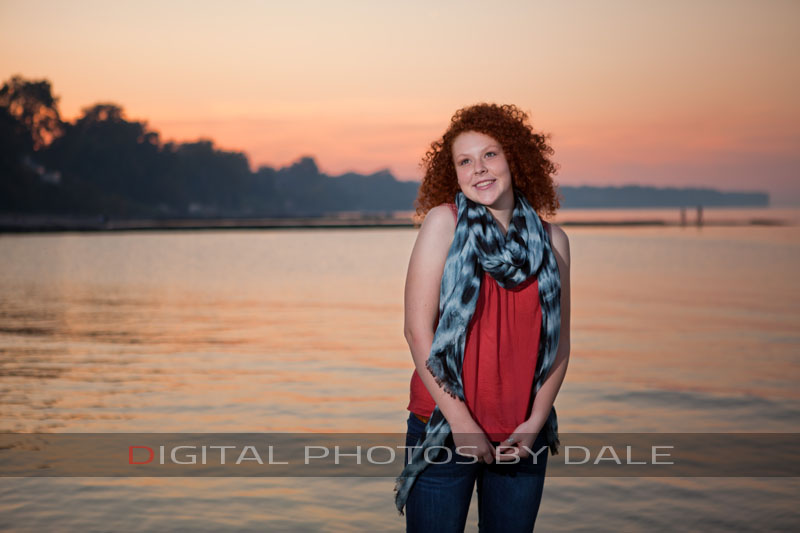
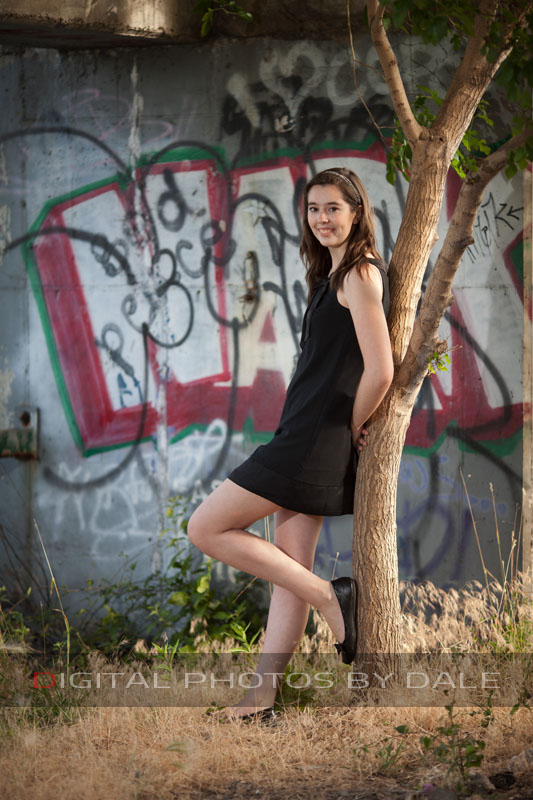
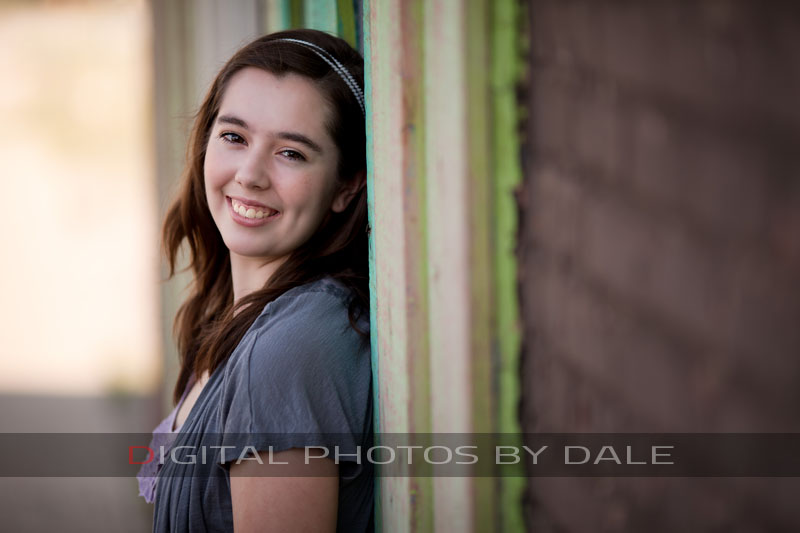
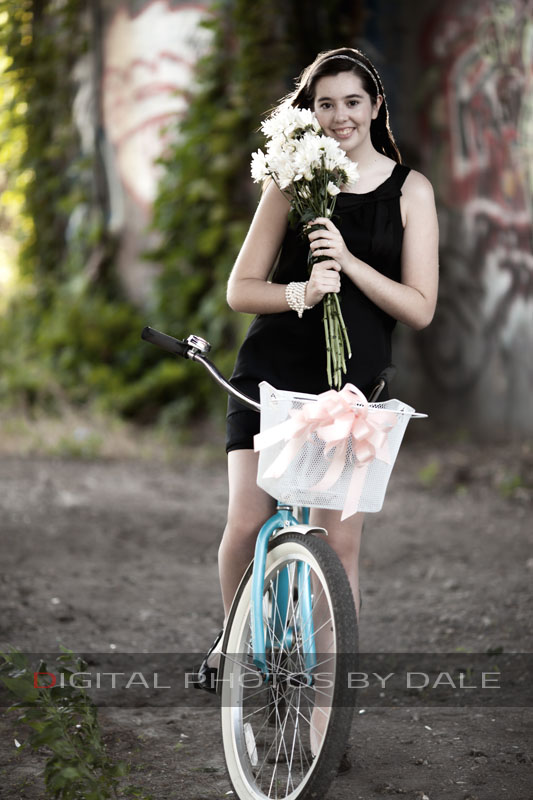
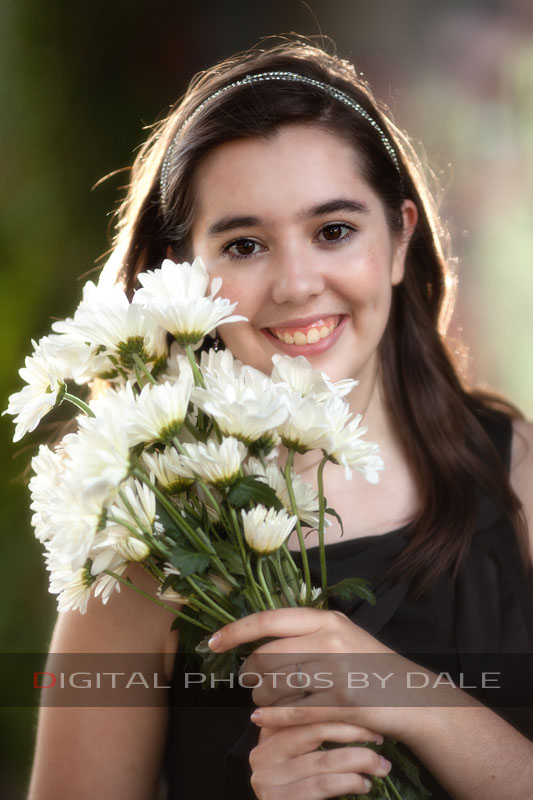
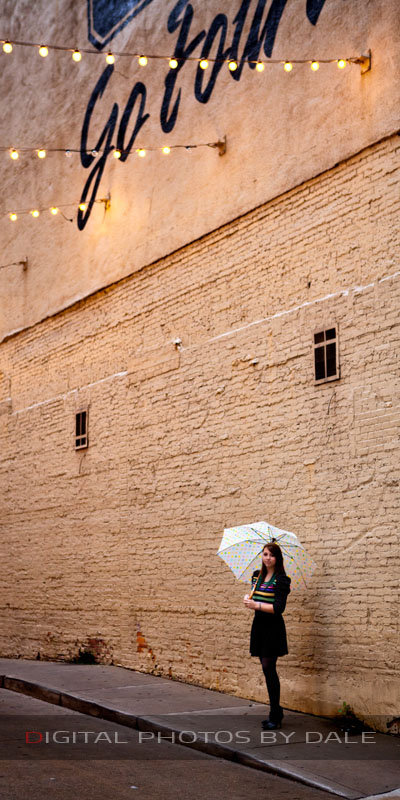
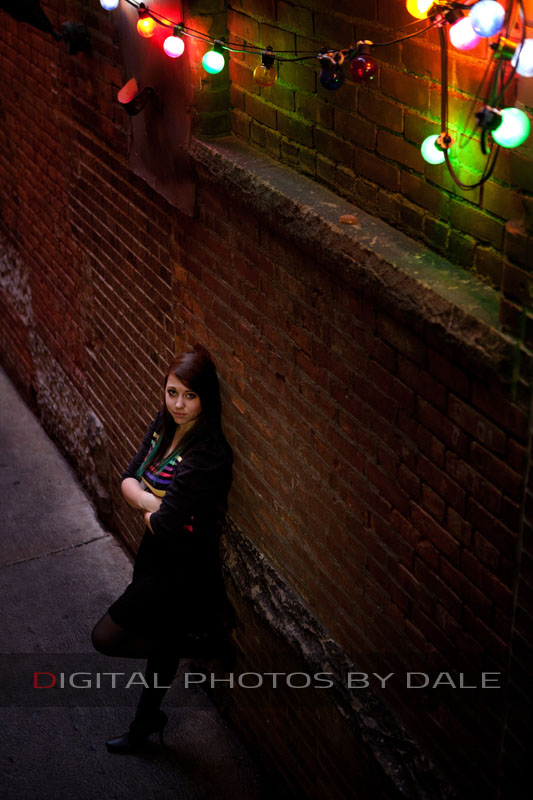
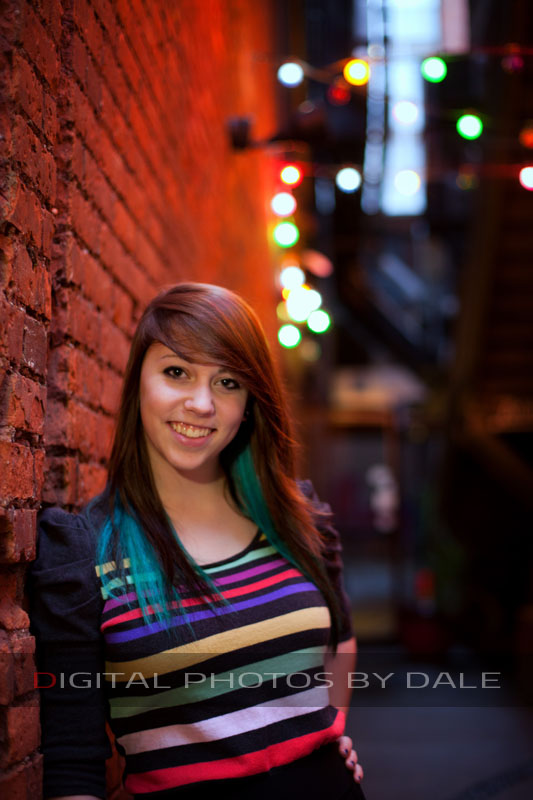
Maddie, who is as energetic as her bright red locks, was an absolute hoot to shoot. Some people are photogenic while others need a little more prompting with assurance. Maddie was about as photogenic as it gets and this made my job quite easy. At the beginning of our first session, Maddie wheeled out this old retro bike with a basket in front of the handlebars. The overall theme she wanted was something a bit retro and this was a great way to start the session. In addition to the 70's theme, we also capture some urban style photos along with a few creative shots at Bay Arts. One of the great features of an extended High School Senior session is the different types of looks you can get with shooting at different locations. Try to get this kind of variation in a studio. If you like these photos, please "Like" me on facebook.
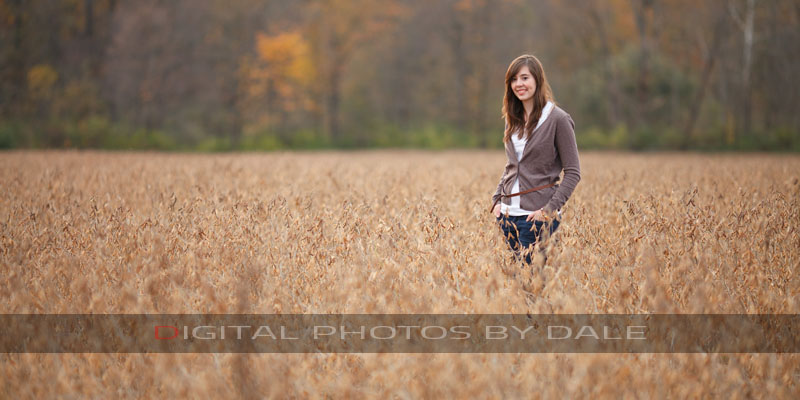
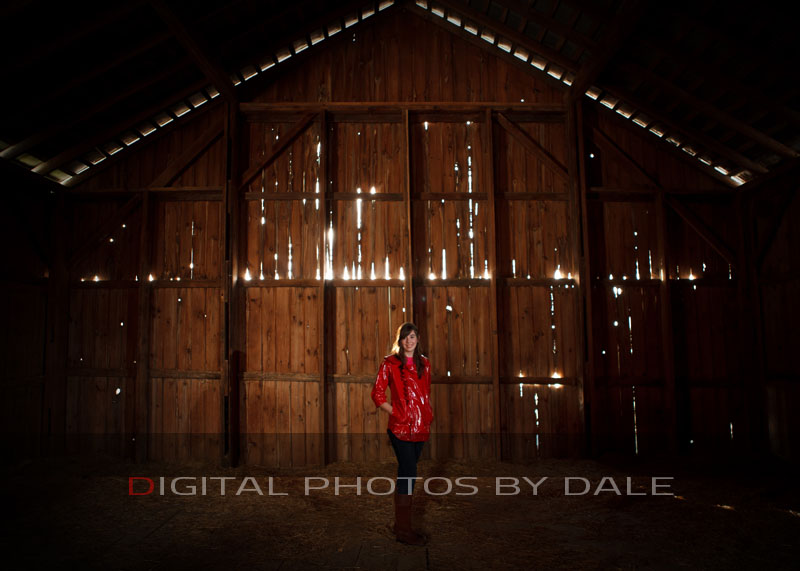
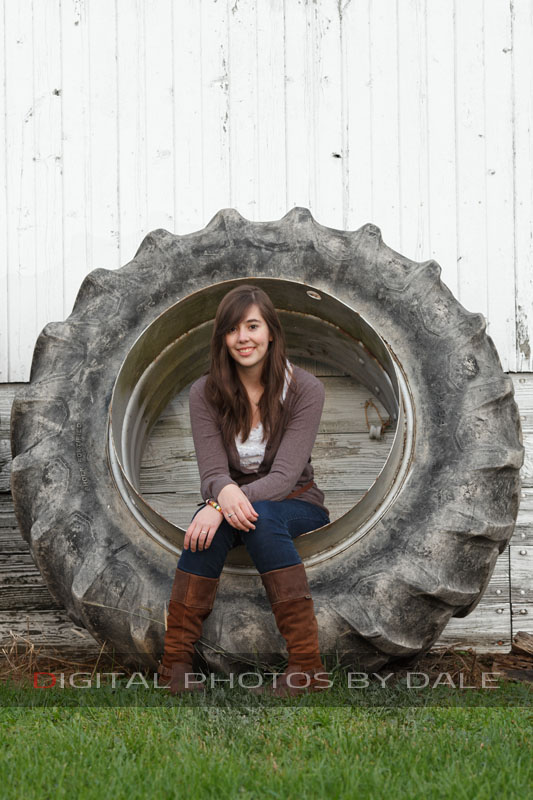
Erin, 2012
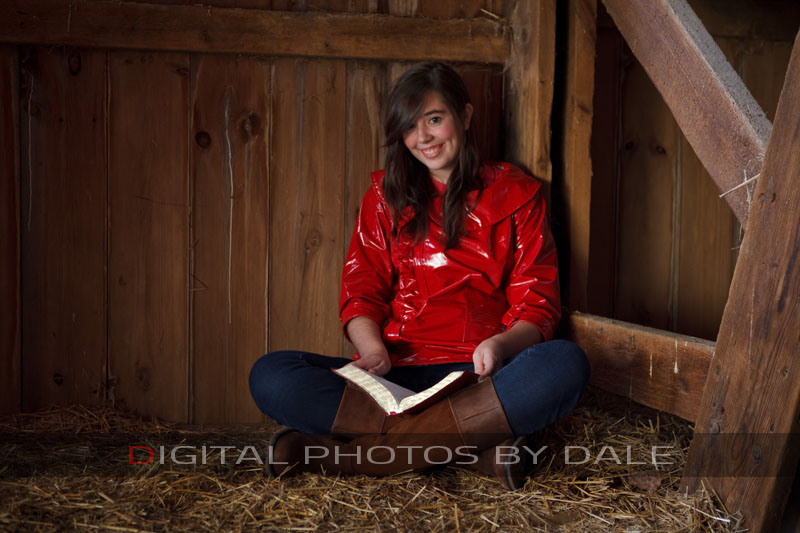
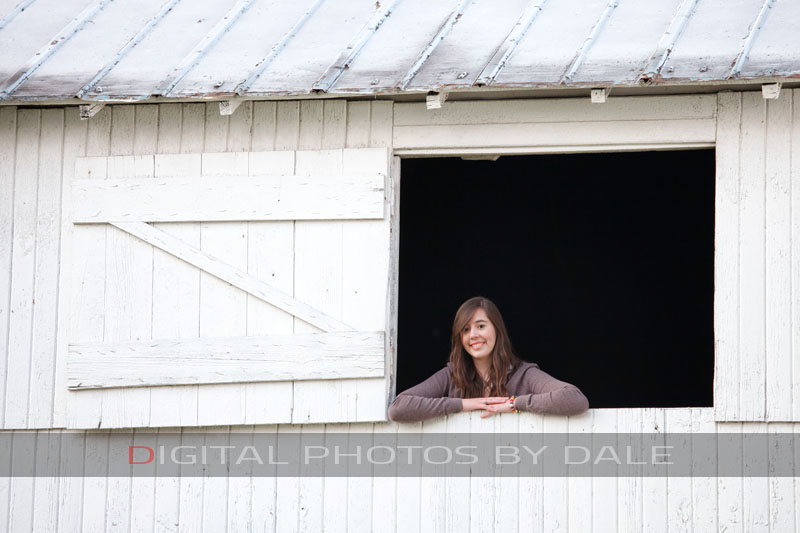
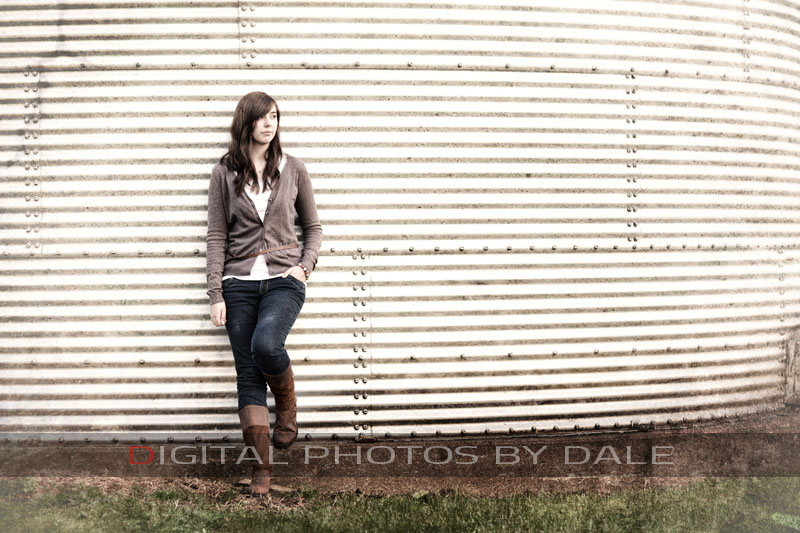
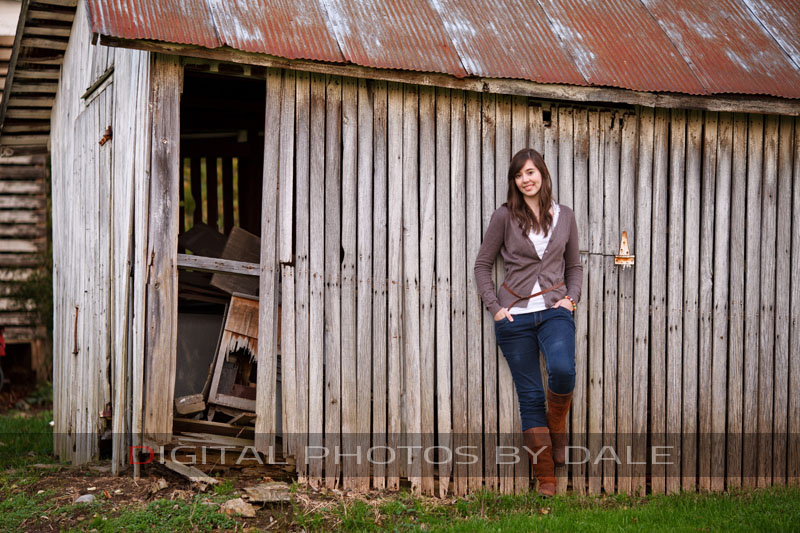
Erin loves the outdoors and she wanted a portrait session with an country/farm theme. We previously captured a few images in an urban setting with her friend Maddie but she really wanted the country seen. Originally, I wanted to give Mapleside Apple Farm a try but the crowd was a little overwhelming and most of the grounds were covered in mud. I drove Southeast and came across this Farm on Ridge Rd, just north of route 271. The farm seemed like the perfect place to host Erin's High School Senior Portrait Session but I needed permission from the owner. The farm was empty of inhabitants and the only thing I could find was a cell phone number hanging on the inside doorway of one of the barns. I called this number, got a hold of the owner, and he (Ron) was more than happy to let us use his farm as a backdrop for Erin. The photos listed below were from Ron's farm and I added a few from her urban setting portrait session at the end of this article:
Mimi, 2012
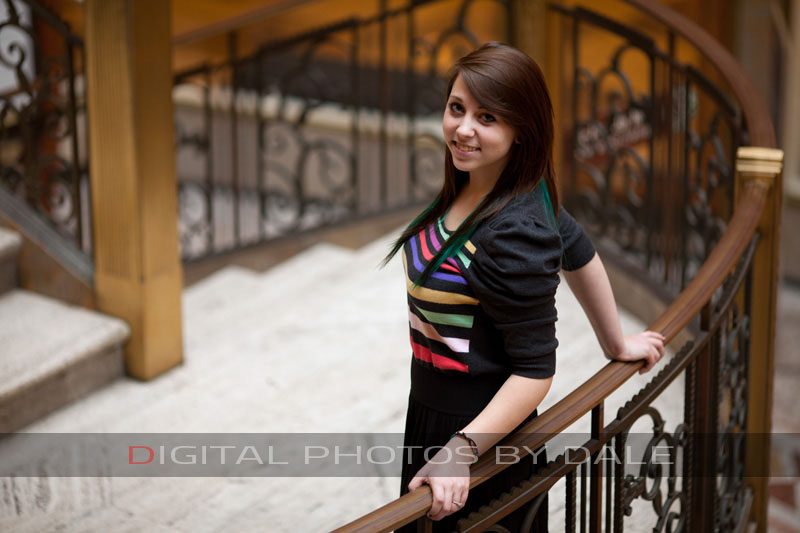
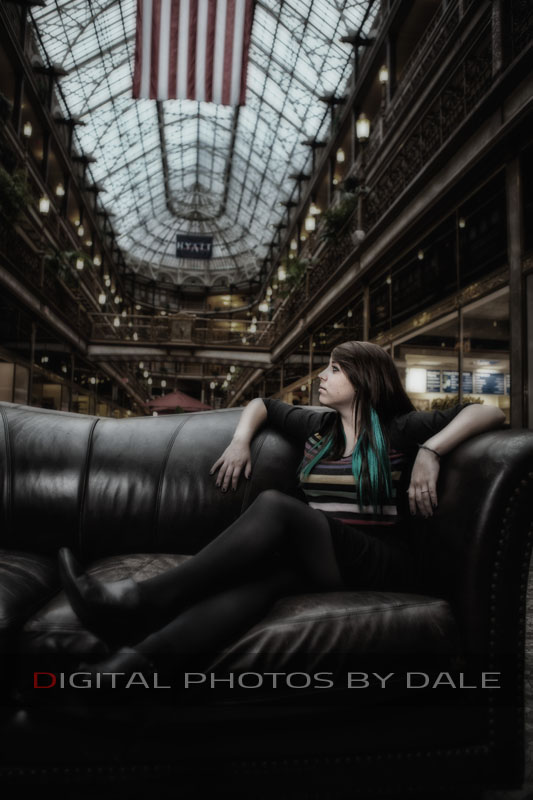
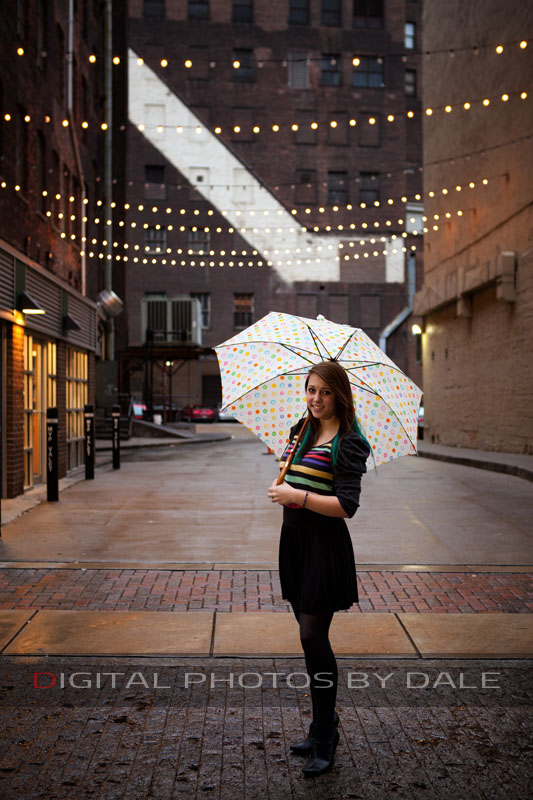
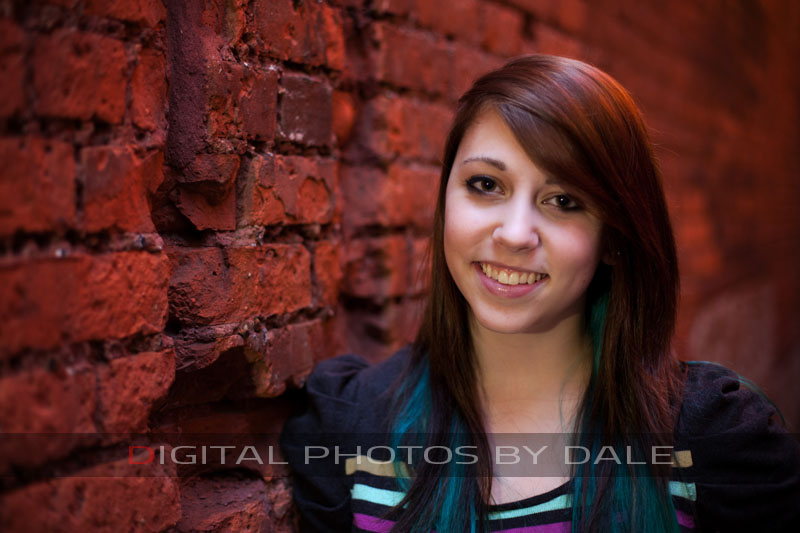
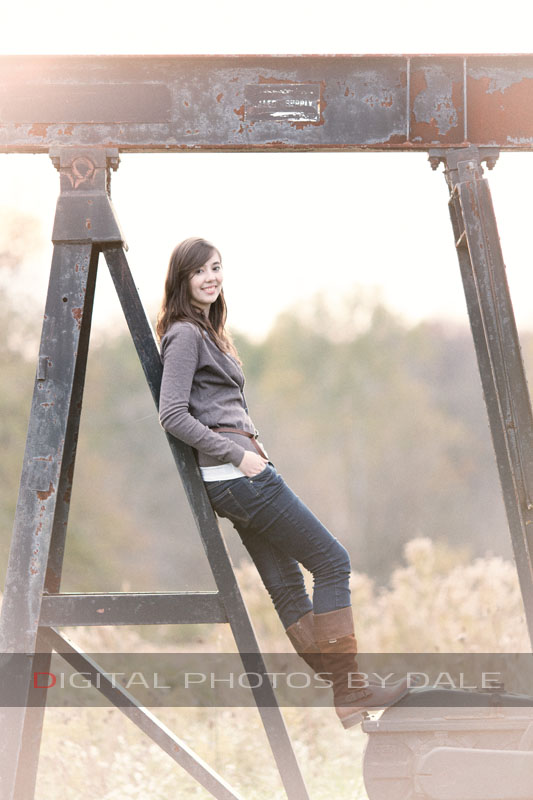
Fitting in an outdoor High School Senior session with Cleveland's record breaking rainfall has been a challenge this year. I wanted to get Mimi's session in so I decided to go with plan B and start her session indoors at the Old Arcade on Euclid Avenue. This decision turned out to be the right one because not only did we get some great photos at the Arcade, but the weather improved and we finished the session outside on E 4th St in the Restaurant District for a few dusk/night shots. Mimi wanted something different and the late evening portraits gave her a look that most other HS Seniors in the area will not have.
First day at the Cleveland Photographic Society
As hooked as I am to photography, I never attended a class at the Cleveland Photographic Society (CPS). I've had many other photographers tell me about the fun experiences and information that could be learn by attending CPS but I never quite found the time to make the trip. Prior to adding this blog, I myself didn't even know that CPS has been around since 1887. This would make it the second oldest camera club in North America. If you live in the Greater North Eastern Ohio area and you happen to love photography like I do, this is an absolute blessing.
My first visit to CPS occurred on Tuesday, January 25 2011. I had absolutely no idea what to expect and I was very glad that one of my photography friends, Brett, who was also a CPS newbie like me, made the trip to attend a tabletop, black light painting photography class. Not knowing what to expect, I walked into the CPS building and was immediately surprised over the number of photographers in the lobby. Like anybody walking into a room full of strangers, I people watched for a few minutes to get an idea of what type of crowd I was in for the night. If you are an amateur photographer reading this blog, don't let this intimidate you. The crowd consisted of a very good mix that ranged from beginners to advance photographers. Anybody could mix in. Always a plus for anybody going to something new.
We all moved into a large room where the CPS staff introduced themselves and went over some of the events that would occur that night. First impression of the staff: very knowledgeable, very passionate about what they do, and exhibited a great interest to share their knowledge to everyone. Ok, this is going to be a good night.
We split up into three groups. One group would go to a class that went over painting subjects with light (using a pen light), the other would photograph a CPS staff member in total darkness, only using a pen light to illuminate himself during long exposures, and the last group would stay in the current room to test out blacklight photography techniques.
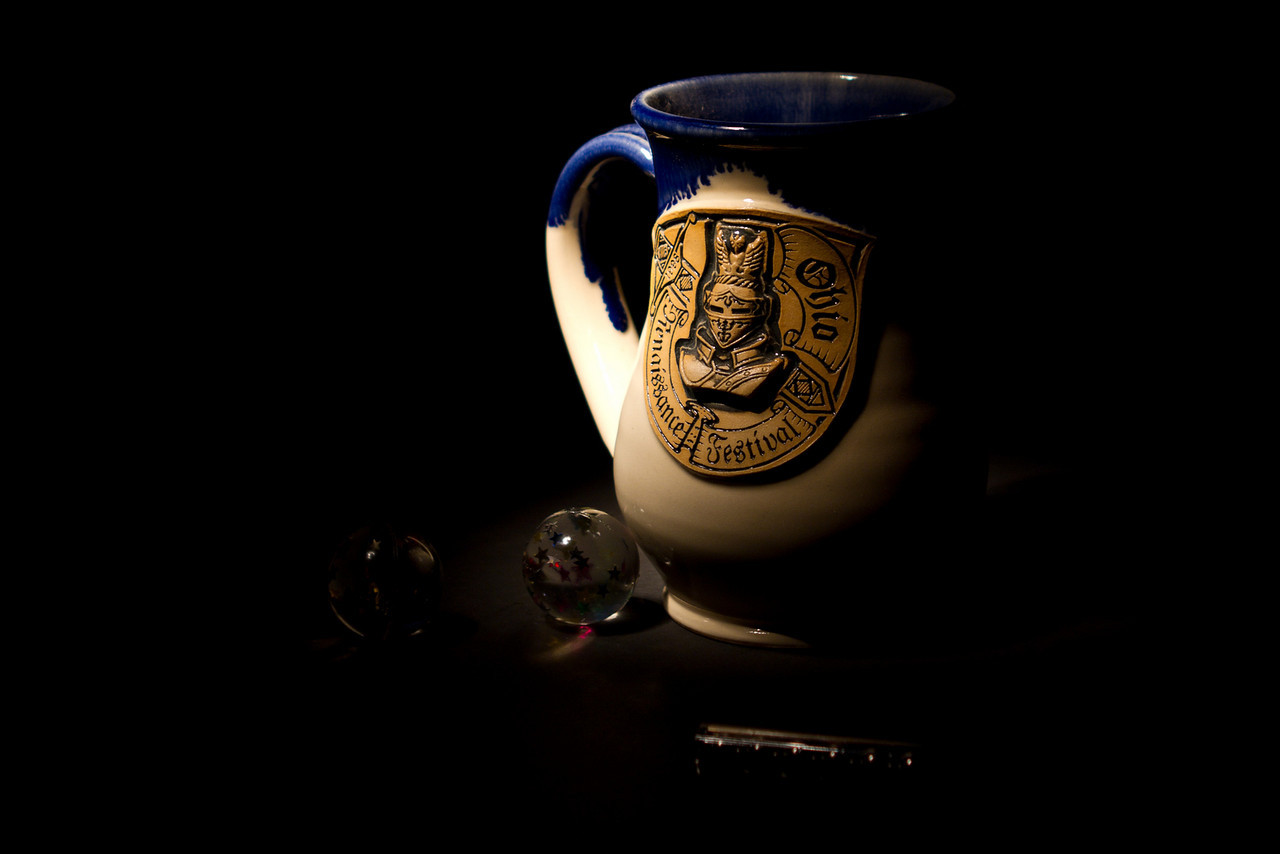
My group went over to the "painting with light" classroom first and our "lab" project was performing long exposures (4 to 8 seconds) photographing small items illuminated by painting the subject with a small pen light. A CPS member was giving us a few tips on starting shutter speeds and F stops but made it a point for everybody to experiment with their camera settings. The photo to the right was my first capture during the lab. The staff made it quite easy for everybody, giving them a really good baseline to start out with. Since there was so little light in the room, manual focus was a must. My camera, a Canon 7D, has live view. For stills, especially long exposure stills, live view makes it extremely easy to dial in your point of focus. I use live view to zoom in on the area that I want focus and when magnified on the LCD screen, making focus adjustments for pinpoint sharpness is a breeze. Live-view works absolutely great for this purpose. We all got a few chances to take photos of the mug and then we moved to different sized objects.
We took photos of a vinegar vase, an M-16 bullet, camera, watch and ring, and a fake (yes, fake - I don't mess with the real stuff) snake. This lab project was a lot of fun. You would be amazed on the cool light effects you can get from a simple pen light over a long exposure.
Our next lab was photographing one of the CPS staff members holding and moving glow sticks and a pen light in random patterns. A lot of these exposures ranged from 6 to 8 seconds, which gave plenty of time to register a decent motion pattern of light. Our CPS test guinea pig stood in a stationary location and only moved his arms, holding a light, to create the really cool effects that would be recorded on our image sensors. Prior to shooting, everybody pre-focused (manually) before the lights went off. Since our subject stayed in the same place, refocusing was not needed.
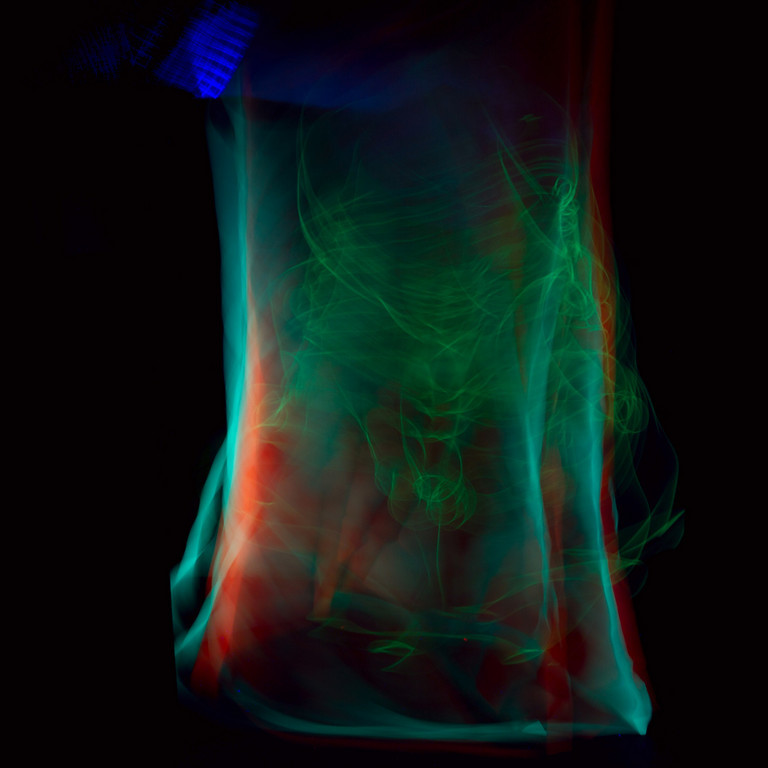
The last lab, which in my opinion, was the coolest (at least the second part was). The fist leg of the lab consisted of photographing stationary reflective objects under a black light. This was ok but I wasn't too crazy about the results (kind of boring compared to the other labs). I didn't hang around this table for long (imagine that) and I wiggled my way over to the second leg of the lab. This lab involved a staff member either dropping or swinging reflective objects in a "darkbox" illuminated by two blacklights. I was able to capture some cool images from our CPS staff swinging glow-in-the-dark necklaces and scarfs back and forth.
You can see an example of this on the right. If you want to do this at home, all you need is a black box and a black-light. It's very important that your black box has a surface that DOES NOT attract lint. Lint reflects black light extremely well (not a good thing). If you build your own box, layer it (on the inside) with black foam board.
All in all, I had a lot of fun at CPS and I will be joining as a member this Friday. CPS offers a lot of free classes and there is no immediate need for you to join. So go check it out and experience what I did for yourself. If you do decide to join, membership is a whopping $54 for the year. Well worth it!
If you want to see more images from this class, go to http://digitalphotosbydale.smugmug.com/ClevelandPhotographicSociety/Tabletop-Photo-Black-Light/
CPS is located near Route 82 and Broadview Rd. To get there, take I-77 south (from Cleveland) and get off at the Rte 82 West exit. Take Rte 82 to Broadview Rd, turn left (go south) and drive a little less than a 1/2 mile to Oakes Rd, turn left (head east). Go down Oaks Rd about 1000 feet and turn right into the drive. Follow the drive to the left and park in back... your there!
Cleveland Photographic Society Website: http://www.clevelandphoto.org/
[fb_rec]
A cold winter day at the Cleveland Metropark Zoo
Well, it was about a week from the last time I touched my camera so I sat at home trying to come up with an idea of somewhere to go on a cold January day. The morning started out great with blues skies and a nice crisp air. Unfortunately, I slept in so attaining those golden hour photos was out of the question for the day. To make something out of the wasted "great" morning (as far as photography went), I worked on my website and a website I am designing for one of my clients. My wife and I went out to find a new pair of glasses for her and believe it or not, goldilox (my wife's nickname, especially when it comes to shopping) found a pair on our first stop. Ok, the day is getting much better at this point. We had lunch and went home to where I was twiddling my thumbs again, contemplating where to take my beloved Canon 7D.
I know a couple very talented local photographers via Facebook. One, who is probably as passionate (or maybe even more than I), is Ron Skinner. Another, who took an absolutely amazing photo of a Koala bear, is Douglas Hupfer. Both Ron and Doug made a recent trip to the Cleveland Zoo and had some great photos from their visit. Add in the fact that the Zoo had a half off admission special for the day and it was a no brainer.
The day temperature was in the low teens so today's visit was going to require ski worthy dress attire. Three layers of clothes, neck warmer, two hats (yes, I said two hats), and my awesome mittens with an opening to remove the end, exposing my fingers from the first knuckle. If you're a photographer, mittens like these are a must. It makes handling the camera easy, while keeping your hands warm.
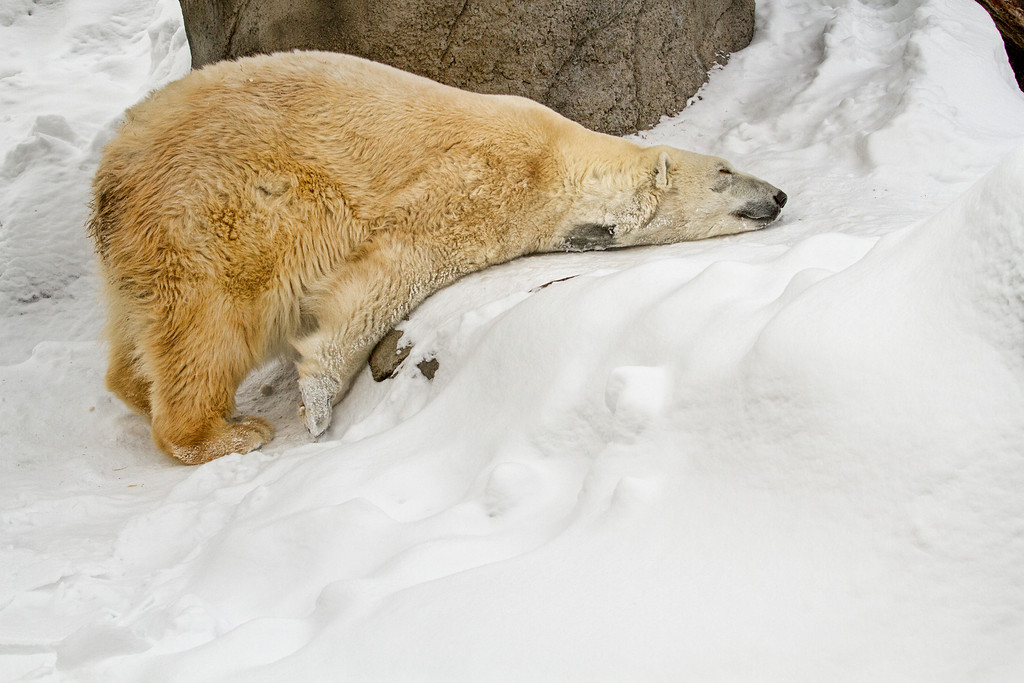
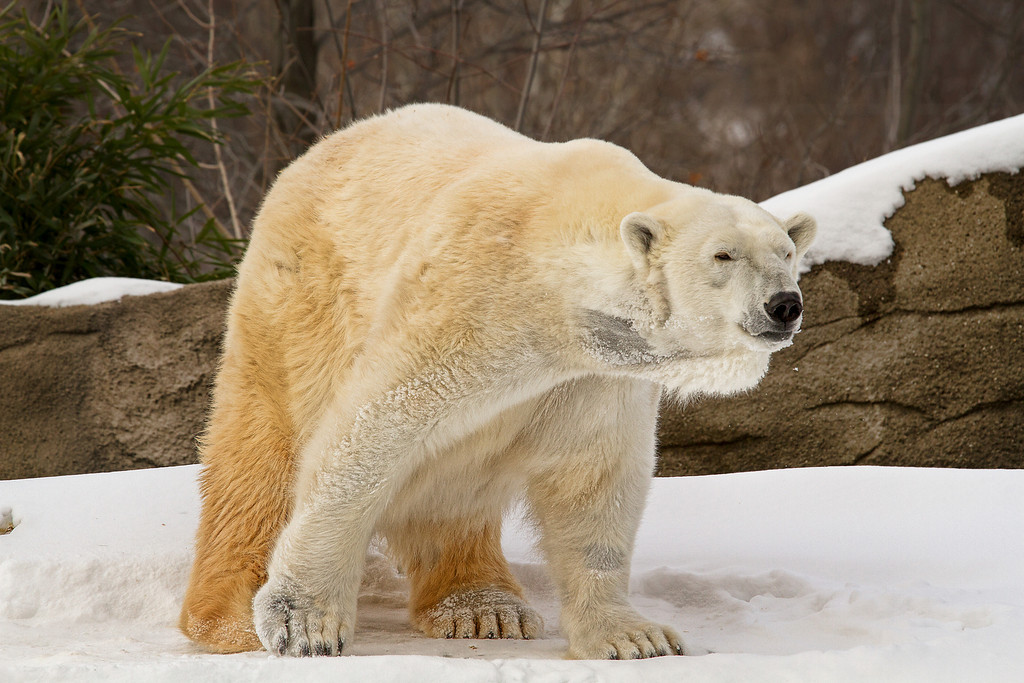
After paying my whopping $3.50 admission to the zoo, I immediately set out for the Lions, Tigers and Bears (except in my case, the reverse order of that...). The first exhibit I came across was the Polar Bear exhibit. This little girl, in Polar Bear eyes, was pacing back and forth looking for something to do.
I initially set my camera to aperture priority mode with center weighted metering but I wasn't happy with the consistency of exposure settings that my camera was choosing. Since snow was all around me and my subject, I changed the metering to spot and shot full manual. I metered off of the snow and set my exposure to +1 2/3 stops. Problem fixed! I like to shoot in aperture priority mode when light conditions are rapidly changing and I'm shooting moving subjects. In this case, the sky was overcast and the light was pretty constant. Once I set my exposure, I just altered it when I wanted to change my depth of field.
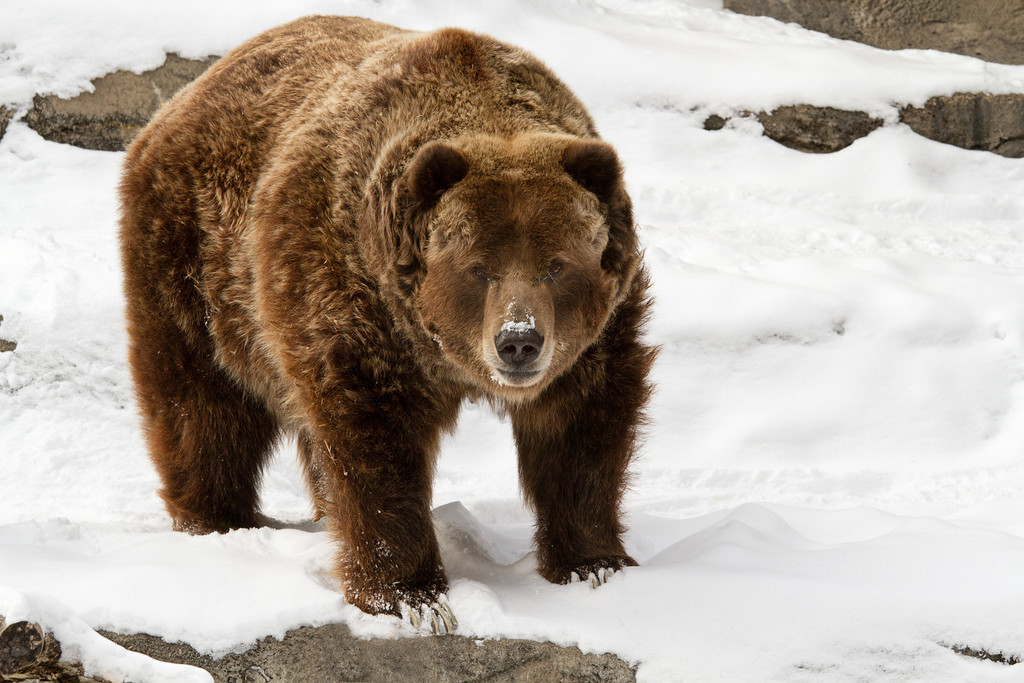
Right next door to the Polar Exhibit is the Brown Bear, better known as the Grizzly Bear exhibit. As you can see in the photo below, this brute looks like he had a steady Cleveland diet over the years. According to one of the zoo staff members, this guy weighs in just under 1000lbs (about 960). The question in my mind was who could eat more, this big brute or Jimmy Demora? They both look as round. As wild as this beast may be, I think I could trust a 1000lb grizzly bear over a corrupt P.O.S like Demora.
Ok, enough of bears, where are the Tigers? For whatever reason, I always have a hard time finding the Tigers at the Cleveland Zoo. The existing layout of the zoo is quite loopy and clear paths are hard to follow (especially when you don't visit the zoo too often). I always hear how good the Columbus Zoo is and I think I know why. At the Columbus zoo, you can easily follow a path, which is circular, leading you to every exhibit without any type of backtracking (or guessing). I think the Cleveland Zoo has some really nice attractions but the layout of the Columbus Zoo trumps the Cleveland Zoo hands down. If it wasn't for this, the Cleveland Zoo would get my vote for the best zoo in Ohio.
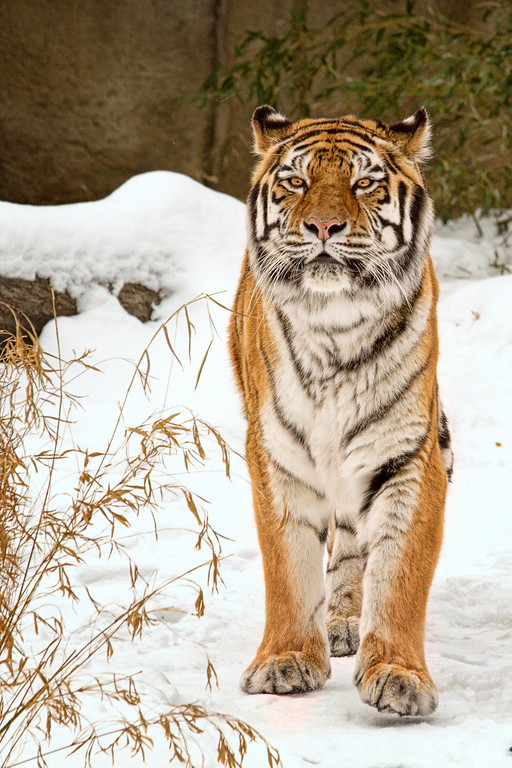
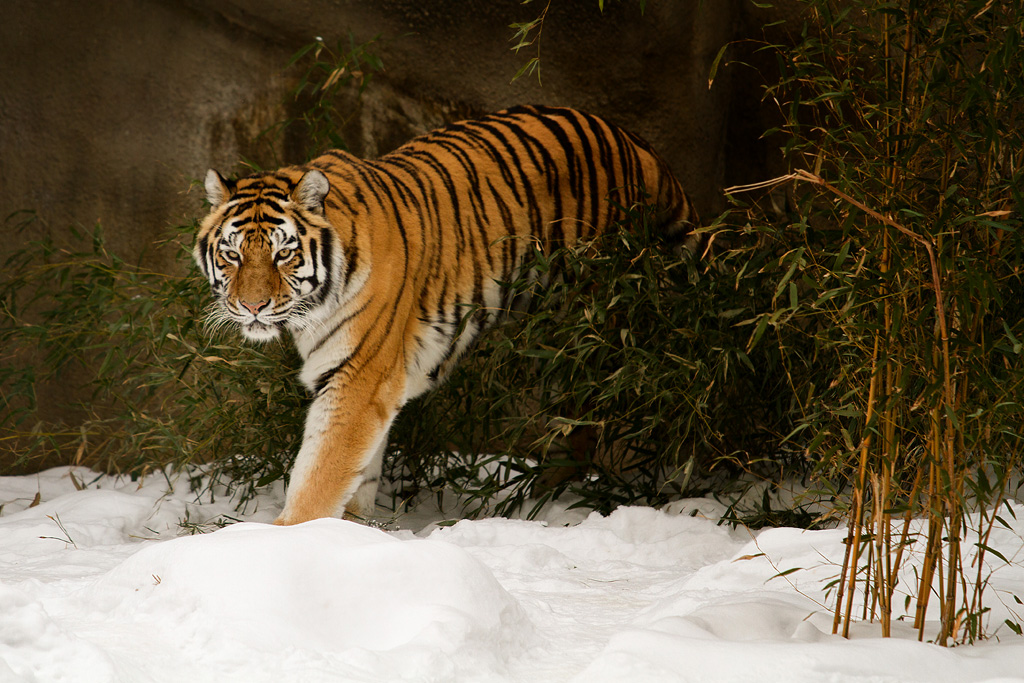
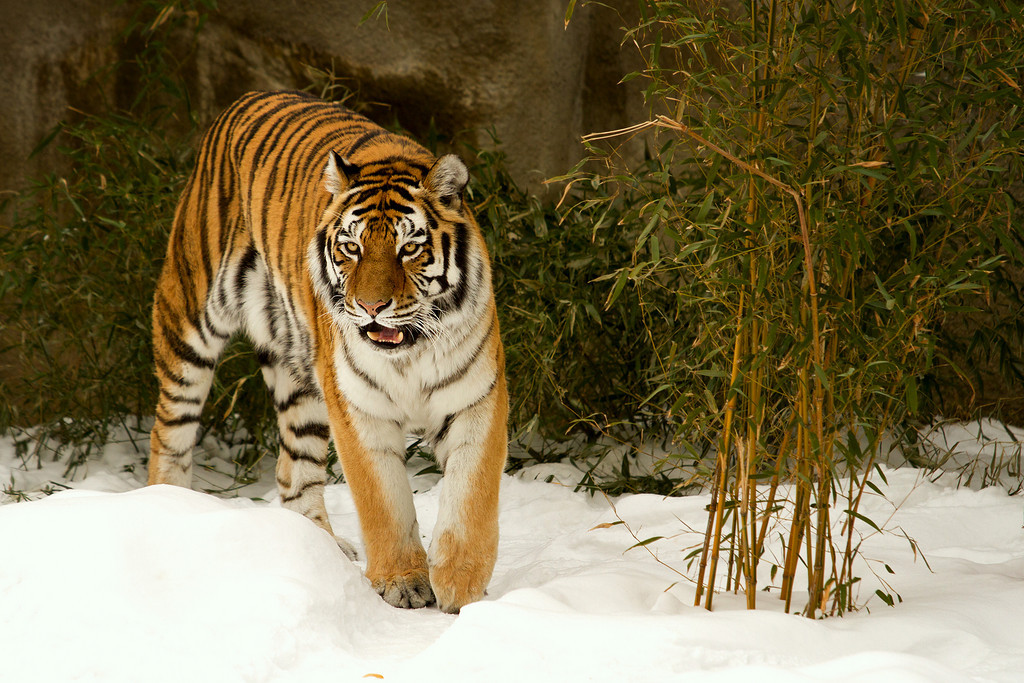
After circling a few times I finally came across an exhibit that hosted two, very active, Bengal Tigers. These guys (or gals - couldn't tell) never stopped moving. I didn't really get a chance to capture a "good" photograph of both of them together. Instead, I just kept my eye on the two as they paced back and forth and constantly repositioned myself to capture the best angle and background surrounding the Tigers. Listed below are a few photos that I captured from this exhibit:
*Tip: shooting animals is a lot like taking photos of kids. They never stay in one place and you'll often have to use faster shutter speeds to freeze their motion. For those who are new to photography, image stabilization, or VR (Nikon), only fights against camera shake. IS (VR) does nothing with freezing action. Most newer dSLRs perform exceptional at higher ISOs. Don't get caught always setting your ISO to 100 or 200. When shooting animals, bump up your ISO to a level that gives you a fast enough shutter speed (1/500th sec or faster) with your chosen aperture settings. Also, don't get in the habit of pixel peeping. Most of any digital noise you'll see on your computer monitor will be a non-factor on prints. The only exception to this rule is if you start ordering enlargements (16x20", 20x30" for example). If you are shooting with a point-and-shoot camera, see if your camera has a sports mode. If so, setting it on sports mode will tell your camera to use a faster shutter speed.
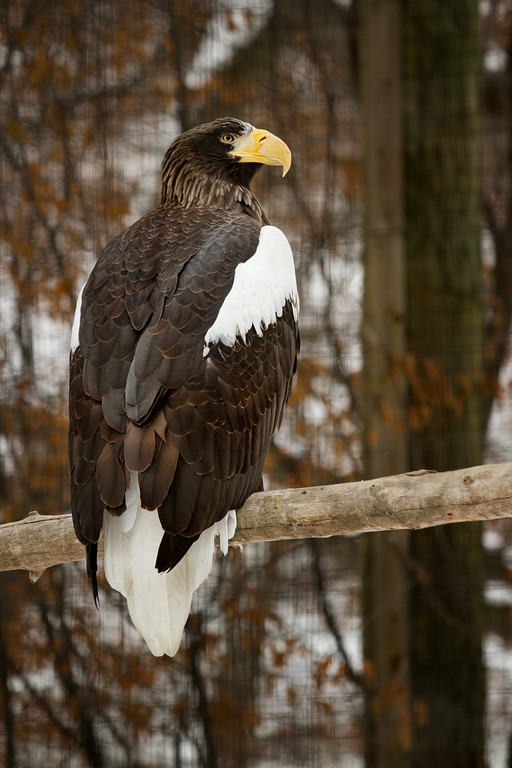 It was getting close to 4PM and the Zoo closes at 5PM. Time to find the Lions. On the way to my next destination, I came across the bird and Koala bear exhibit. To see Eagles close up is quite amazing to say the least. These Rapors are extremely large and their weapons of mass destruction (Talons, beak) are quite intimidating. The photo to the left is a picture of a Stellers Sea Eagle. Sea Eagles are one of the most powerful Eagles on the planet (right up there with the Harpy and Philippine Eagles). They can have wingspans of 8 feet and weigh almost 20lbs. This raptor can easily take down small dogs and cats. Hide the pets!
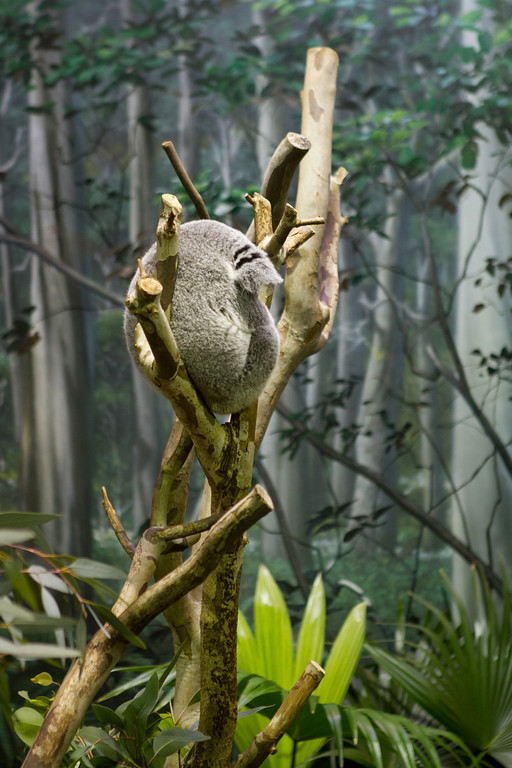 The Koala Bear exhibit is located indoors and has a very balmy humid atmosphere inside. This is absolutely great for most people, especially on a day that has outdoor temperatures in the low teens. For photographers, this can be like walking in a field covered with land mines. What I'm getting at is moving your camera from an extremely cold climate to a very warm (and moist) climate is very dangerous. I swapped my 70-200 F4L lens for my 24-70mm F2.8L lens while still outside. I ventured into the exhibit and immediately notice the condensation building up on my camera body. I currently use a 7D and while the weather proofing is extremely good, it's no 1D series. I was able to fire off a few shots when common sense kicked in and told me to get out of there. If you find yourself in a similar situation, just pass up the exhibit and shoot it on a different day. My equipment was fine but I took a real risk damaging the electronics due to condensation build up. Lucky for me and the build quality of the Canon 7D, the condensation stayed on the outside of the camera body. The lens, a 24-70mm F2.8L is built like a tank and could probably survive a nuclear blast. No worries for the lens. All is well.
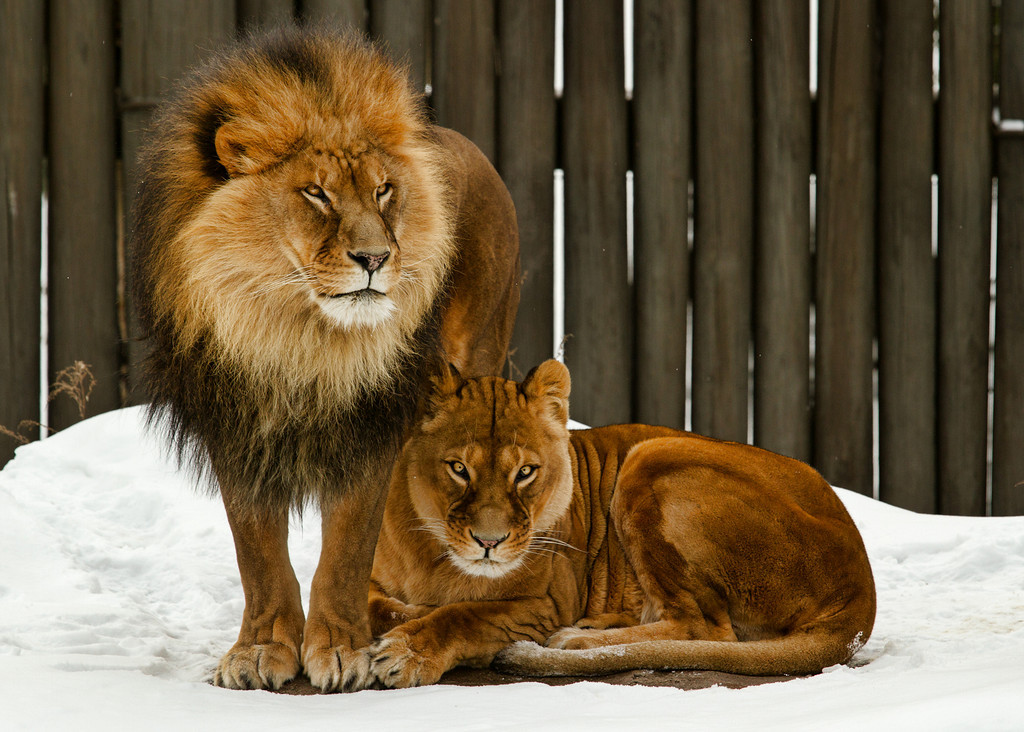
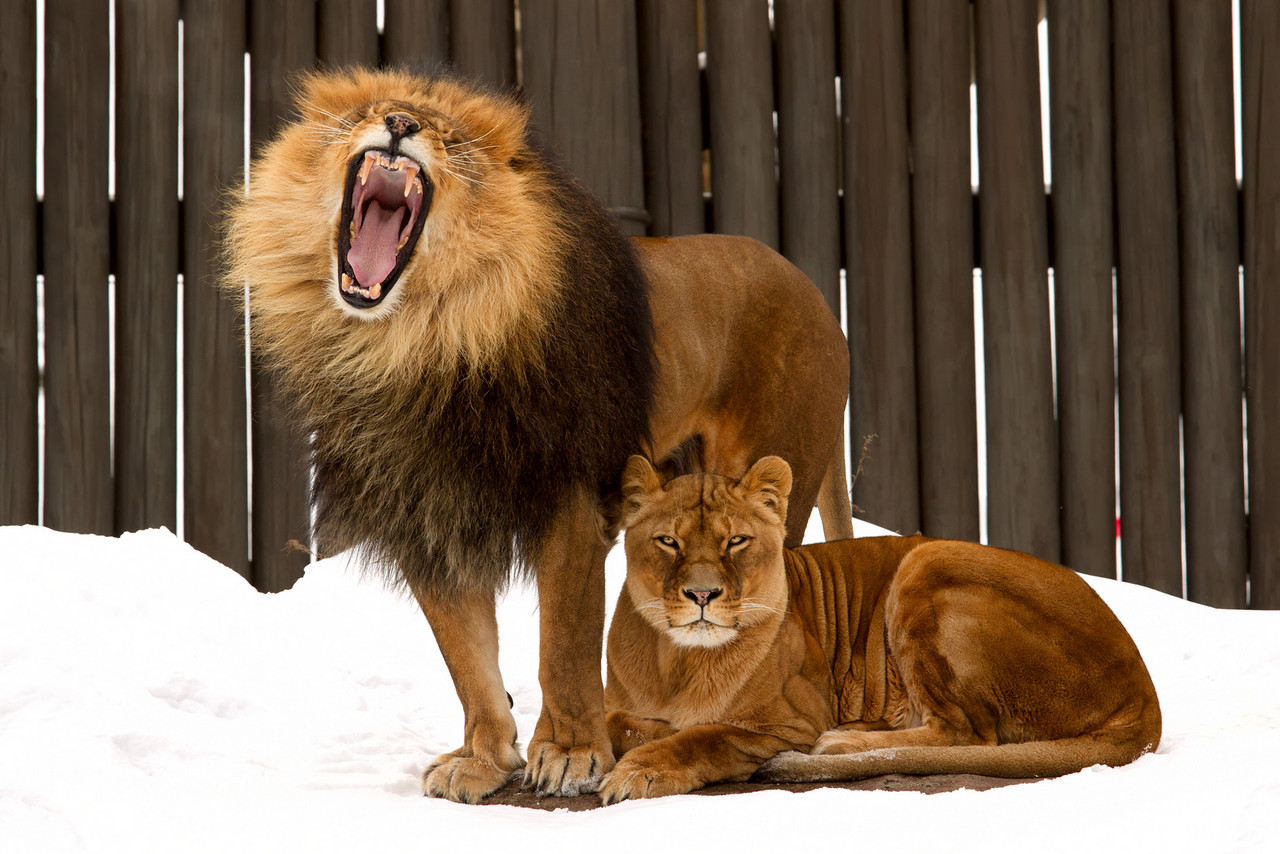
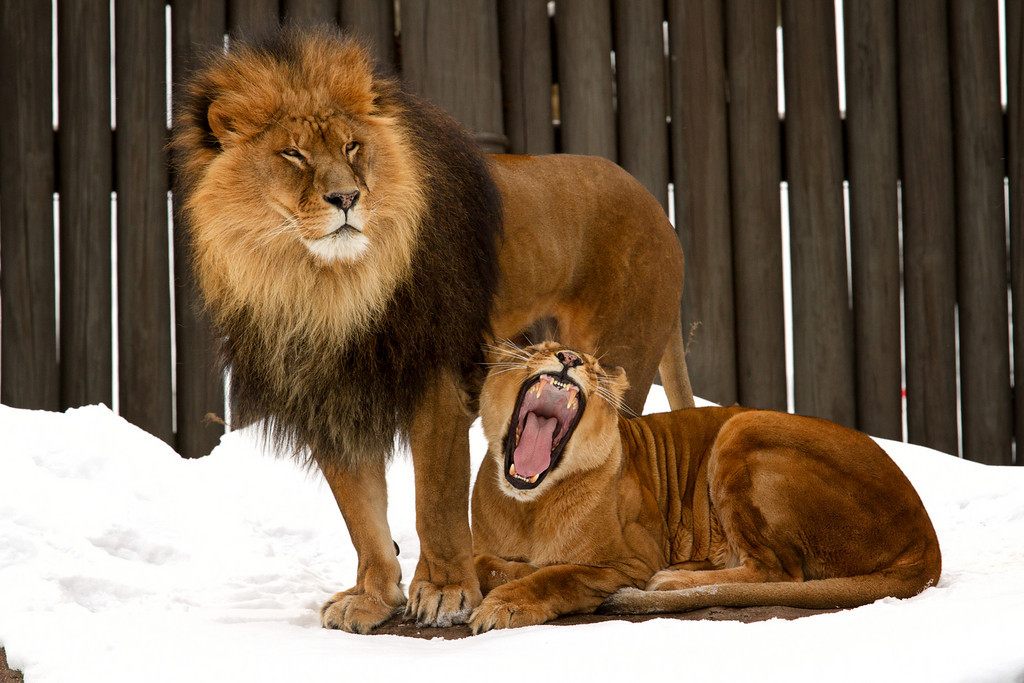
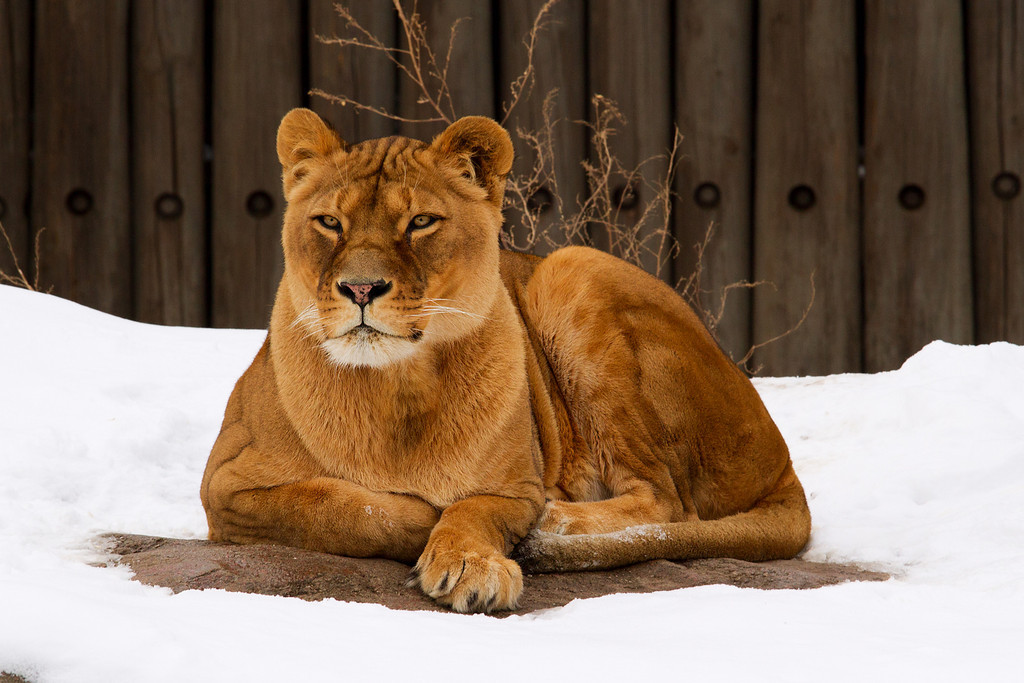
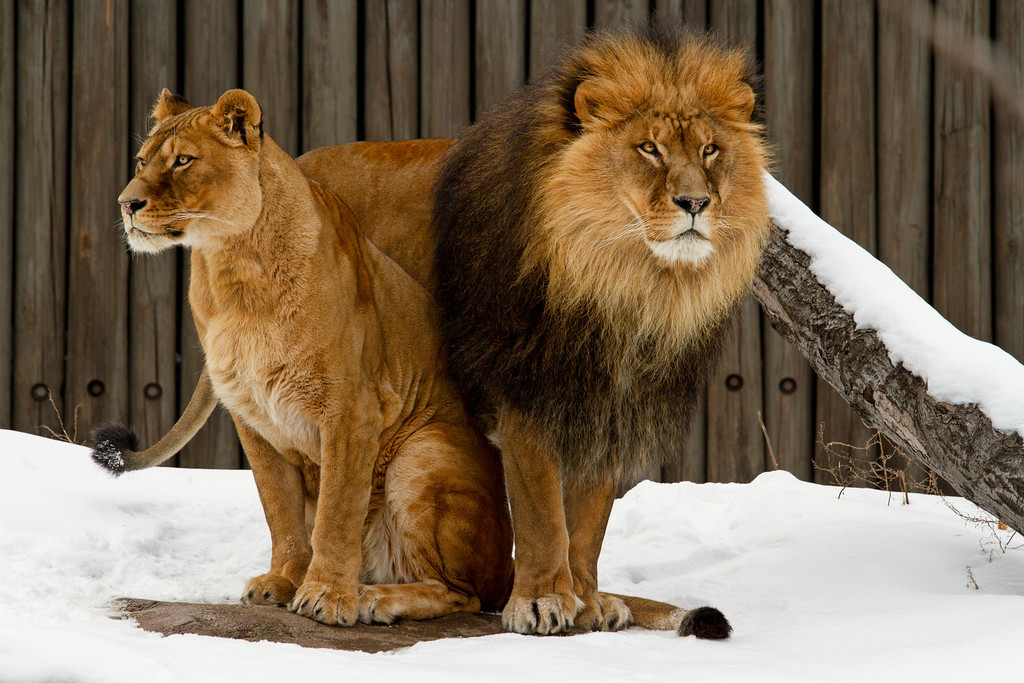
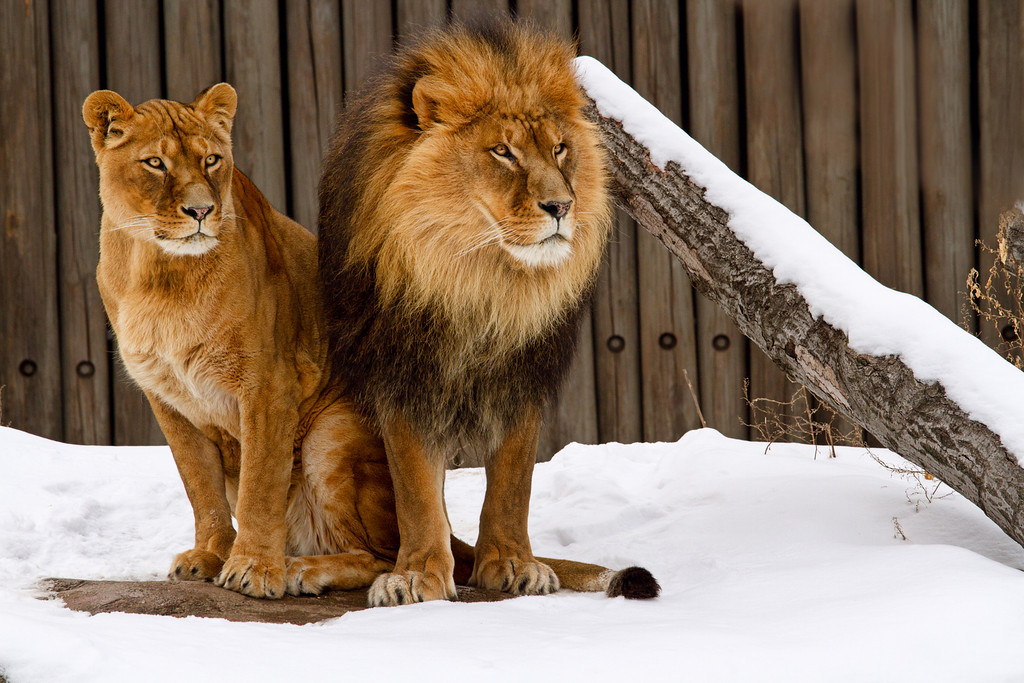
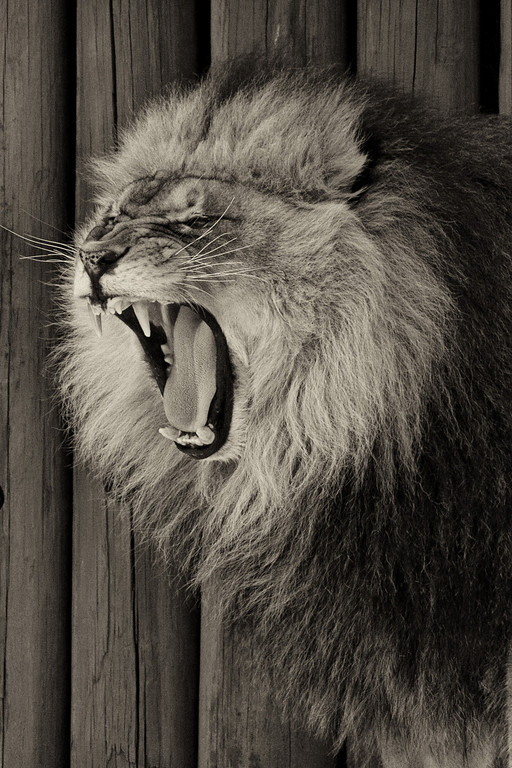
Now for the best exhibit, the Lions. What immediately caught my eyes was the interaction between the male and female lions. I think the cold day helped out quite a bit because these two lions spent about 90% of the time near each other. I was able to capture a few roars and some affection between the male and female. The female, which I found to have a beautiful coat and a strikingly powerful, yet graceful appearance, was my favorite. Listed below are a few photos that I captured on January 22nd, 2011. This collection of photos are definitely my favorite shots of the day. I think you'll see why:
To view the entire, High Resolution Gallery, go to Cleveland Zoo, Winter 2011. Prints are available at very reasonable prices. All print orders will be processed by Bay Photos. Bay Photos, located in California, is a premier print lab and their prints are absolutely amazing.
[smugbuy gallery="http://digitalphotosbydale.smugmug.com/Places-Parks-Museums/Cleveland-Zoo-Winter-2011/15548110_XsWBH#1164922910_986Gc"]
[smugmug url="http://digitalphotosbydale.smugmug.com/hack/feed.mg?Type=gallery&Data=15548110_XsWBH&format=rss200" start="1" num="100"]
[fb_rec]


